


I bought the burlap canvas (24"x12") at Hobby Lobby.

I was going use my Silhouette to cut letters and paint over them ((paint the canvas the color I want the letters, put the letters down, paint the overall color and pull the letters up))- but I decided I liked the jagged white edges on the burlap, so instead I used my Silhouette to make a stencil. The great thing with the Silhouette is you can use any font you have on your computer.
I cut the letters out of vinyl as I usually would, but instead of peeling up the background and discarding, I carefully pulled off the background and placed that down on the canvas to use as a stencil.

I made our anniversary date a little larger font.
I then cut out each of the kids birth dates. Their birth dates did not line up perfectly as my son was born on the 8th, and my daughter the 28th. If you want your dates to line up perfectly than put a 0 before any single digits, 08.

I laid down all of the vinyl stencils before I began painting to ensure that everything fit. I made sure the vinyl was pushed down everywhere but did not rub it into place as you usually would as I knew I would be pulling it up.
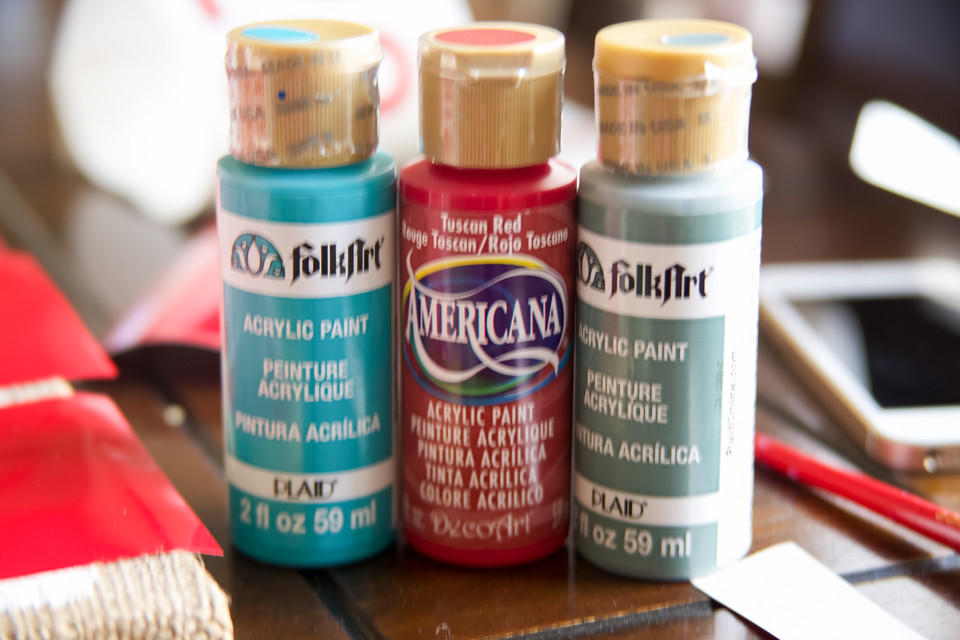 I used folkArt Aqua #481 for the top date, Americana Tuscan Red for the heart, and folkArt Greenscape #2500 for the birthdays. Obviously, feel free to use any colors that coordinate with your decor.
I used folkArt Aqua #481 for the top date, Americana Tuscan Red for the heart, and folkArt Greenscape #2500 for the birthdays. Obviously, feel free to use any colors that coordinate with your decor.
Then paint. It doesn't matter if you go over the edges a little as you will be pulling the stencil up.

After painting, I waited about 3 or 4 minutes then carefully peeled up the stencils and was left with a piece I love.

If you do not have a Silhouette or similar machine you can use real letter stencils found at most craft stores.

What project/tips from my bedroom makeover would you like to see next?
**************************************
Don't forget to enter the giveaway for your own copy of Patchwork Reality -here


Wow, so easy to do and it looks amazing!
ReplyDeleteDid you freehand the tree silhouettes?
This project really was so easy. The part that took me the longest was picking what font I wanted, I think the whole thing took me about an hour was all. I did free hand the tree silhouettes, though I could have done it just like the word art if I had thought of it or didn’t want to free hand it.
DeleteI really love how this turned out! I've pinned it to try one day.
ReplyDeleteAwe thanks! It really was a very simple project
DeleteLove it! Aqua and red is one of my favorite color combinations. I've been thinking about date art ever since you posted it and I've come up with my own twist that I'll be sharing soon!
ReplyDeleteOh so excited to see what your twist is!
DeleteVery fun! Makes me want to do something crafty…been a long time! How will I choose what to do!? You should tell about your bookshelf with the wrapping paper next. :)
ReplyDeleteSounds good- will show that next
DeleteIt really turned out great! I love everything about your bedroom makeover!
ReplyDeleteThank you so much! Me too.
DeleteLove this and I love the happy color in your house. Just say no to brown and heavy decor everywhere!
ReplyDeleteYep exactly! Fun to have some color
DeleteI love this!! I've wanted to make something like this for a long time. My husband is out of town this weekend, maybe I'll have time to whip it up!
ReplyDeleteThis really is such a quick project, only took me a little more than a hour
DeleteI can't see any of the photos! Well, I can see the very last one, but the rest are just outlined boxes.....
ReplyDeleteMaybe they were just loading slowly before?? Not sure, they all seem to be there now. Hopefully they work. Maybe try opening in a different browser? Though that shouldn't affect anything. I know some people have issues sometimes if they check from work computers that have lots of filters, hope you can see them.
DeleteWhat a great project! I've seen a couple of these cool burlap projects...makes me want to do one too!
ReplyDeleteYou should, they are fun to do
DeleteReally cute! Love the colors.
ReplyDeleteThank you! I love the colors too, make me happy every time I see them
DeleteI saw something similar to this, but your version is much cuter!!!
ReplyDeleteThank you! Yes, I originally wanted to do this on boards, more of an antique look- but then I saw this canvas and my plans all changed.
DeleteSo easy!! And it looks great!
ReplyDeleteThank you and yes it really was so easy!
DeleteSee you'll have to make me one of these because I don't have a silhouette machine :)
ReplyDeleteIf you are are any good at painting, you could totally just paint this one free hand. I just have terrible handwriting, let alone painting numbers
DeleteI really, really love this project. Great job.
ReplyDeleteThank you!!
DeleteWhat a beautiful project! Love the gallery too.
ReplyDelete