


Today I am going to talk about the yellow pieces in my room, the nightstands and the horizontal book case.


For Christmas, my mother-in-law purchased these great nightstands that I loved, taller height, a drawer and a place to put things out of sight. They are the Napa White Nightstands found here on Overstock, now all they needed was some fun color.


I love the finished look and the great color that it adds to the room.

Horizontal Book Case


I wanted a long horizontal book case for my reading nook and found this piece at Target.

Now Annie Sloan paint is wonderful and you can paint on just about any surface, but it isn't perfect.
The back of this piece is one of those folded cardboard like pieces that you just nail onto the back, it had a very smooth and almost shiny finish and when I began painting it, it started bubbling up. Even after painting it several times, the paint had holes, steaks and bubbles.
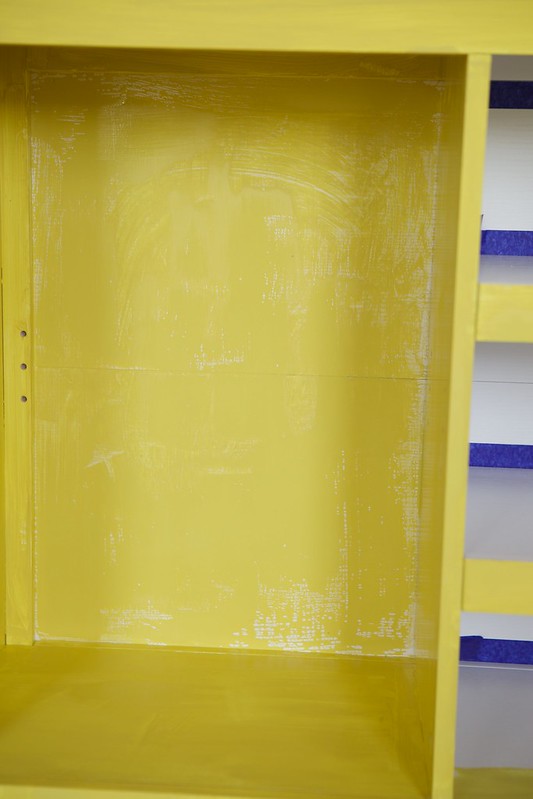
Since I had already tried to paint one part, I couldn't just leave it white. I then decided to finish the big back sides with contact paper.
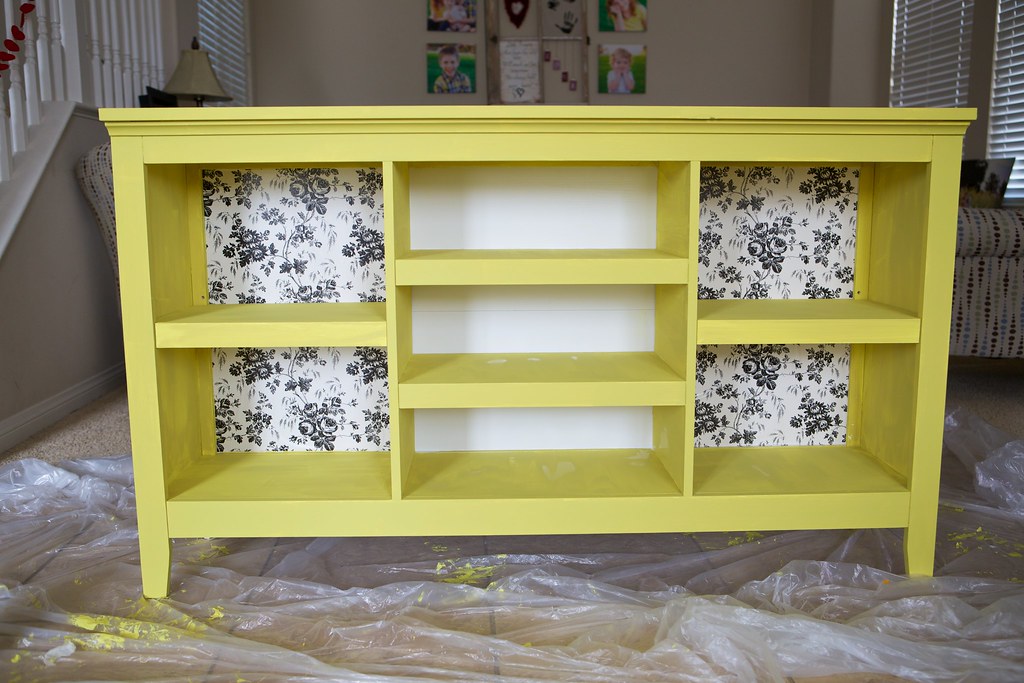
I took out the shelves and measured the space. The contact paper I used was a roll from the dollar store, I began at the top and then slowly peeled off the protective backing and smoothed down the piece. It stuck wonderfully and I loved it and was as much easier process then the wrapping paper I used for the gray bookshelf.


I absolutely loved how the black flowers looked compared to yellow.
 |
| There are a few shiny spots as the paint wasn't fully dry, I get overly excited when I finish a project |
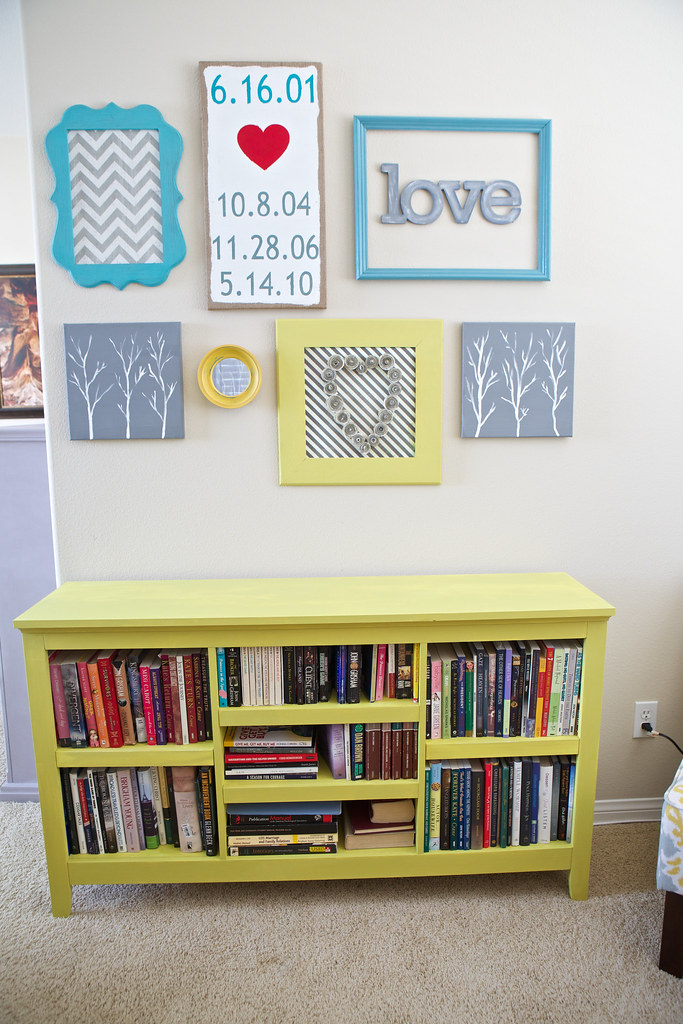
While the flower paper doesn't really show, it was added more out of necessity after realizing the paint wasn't adhering correctly, but someday if I wanted to change things around it has a beautiful background all ready to go.
To see the rest of my master bedroom makeover- click here. I will continue to add the tutorial links to that original post.
Do you keep books you have already read or do you get rid of them?
*************************
I am linking this post up at the following crafting blogs


I love it! I'm always worried about painting furniture with laminate surfaces. I love how you fixed the problem. Will definitely remember this when I get up the courage to start doing some painting of my own!
ReplyDeleteYes, I have done several laminate pieces and they work out wonderfully with the chalk paint. The back piece I think had just a really weird waxy finish that just wasn't covering right, but the rest, so easy!
DeleteI really enjoyed this post. I love the flower background inside the shelves.
ReplyDeleteThank you! Yes, even though it wasn’t originally planned to have that, I love how it turned out in the end and so glad I ended up having to do that
DeleteI keep them. It may be super outdated in this electronic age but I've always wanted a huge library! :)
ReplyDeleteI really like. Now would you come paint my cabinets for me since no one will allow me to paint... lol :). I have all the stuff :)
ReplyDeleteI wish I could :)
DeleteYou are so talented! I really like how you put contact paper on the back of the bookshelf--it looks adorable, even if it is covered up by books!
ReplyDeleteAwe thank you! I do love it too, I almost wanted to leave those shelves more blank but I really needed the space for all my books :)
DeleteIt's so hard to get the right yellow...and this is the PERFECT yellow!
ReplyDeleteThank you so much, i really do love it
DeleteDid you prime the piece as well before painting?
ReplyDeleteNope- that is the great thing about the chalk paint, no priming required. Just make sure the pieces are clean and start painting.
DeleteI am totally surprised to see this fantastic blog on home furnishing. Thanks for this great share! check over here
ReplyDelete