




Showing posts with label Crafts And Projects. Show all posts

Monday, January 9, 2017

Fun Things to Do On a Rainy Day- Making Stop Motion Videos

Right now much of the country is covered in snow, and here in SoCal we are actually getting a lot of rain, so what is something fun you can do on those cold and rainy (or snowy) days, something that everyone will like?  How about making a stop-motion video?

Until recently, We had never made a stop motion video, but after seeing the tutorials on the GoldFish Website, we knew we wanted to try.


Tips for Making a Stop Motion Video

Stop Motion Video is actually a group of pictures, taken one after the next that are then put together to seem like a moving picture.  There are a lot of Apps out there for making stop motion videos. (See more tips and Apps here)

1. Plan Your Scene
    Do you want something short and funny?  Something dramatic? Something sweet?  Unless you have a lot of time and really want to do a big production, you will want to pick a little short scene, think one thing happening.  Definitely seek your kids input as they have all kinds of creative ideas.


2. Get Your Supplies
    First, you will need something to record your video; you could technically take a bunch of pictures with your phones camera and put them together, but the Apps make it so much easier (and don't fill your camera roll with a ton of pictures)

Just about anything can work in your video, some useful supplies you may want:
   Construction Paper
   Glue/Scissors
   Molding Clay (they have packs of this at the Dollar Store)
   Stickers
   Yarn, pompoms, pipe cleaners

 For our videos we used Goldfish Crackers for the characters of our videos.
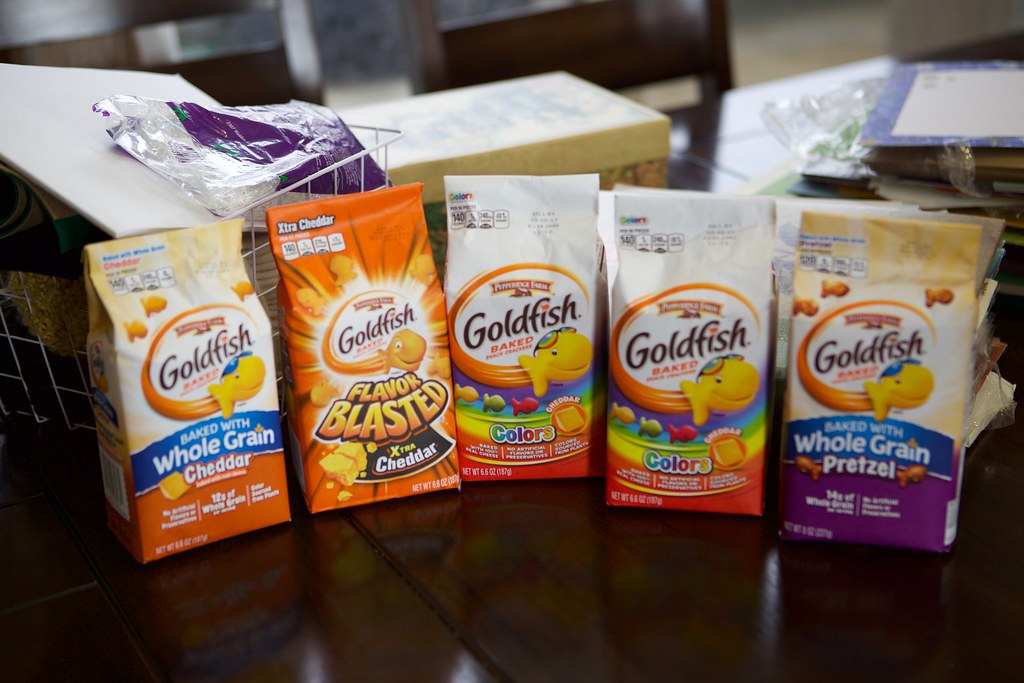
Goldfish Crackers
Right Now You Can Enter to Win $5000 if you make your own stop Motion Video using Pepperidge Farm Goldfish-- Find More Info Here

3. Set Up Your Scene
   **Before you begin constructing your scene, get out the App and see how big you need it to be.  You want your scene to fill the entire screen, so definitely size things out first.**

-Make the background and props you will need in your scene.  Make sure you have everything ready and all of the props set to the side.  We recommend taping the background in place, we taped it to the back of an old chalk board, as otherwise if it slides, it will throw things off.

--Prop Action: If you are wanting props to open or grow, you will need multiple version of that prop.
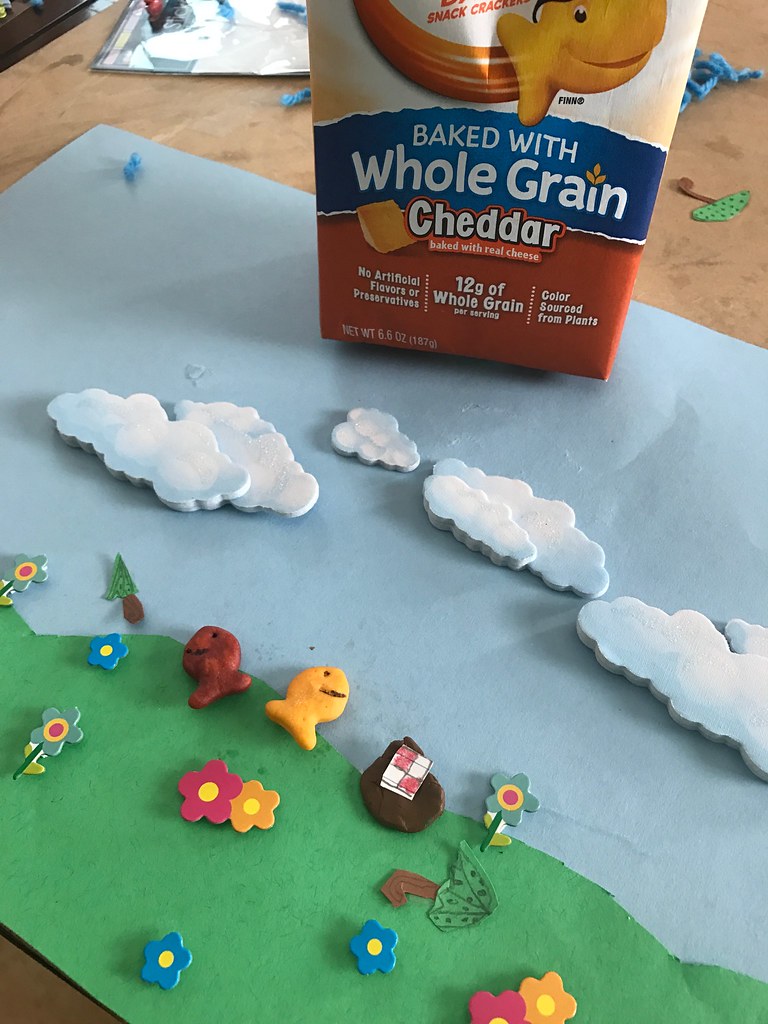
   Example: In our Picnic video, the fish carries in a "folded" picnic blanket then it unfolds as he lays it out.  My daughter actually made three different blankets, all of various sizes, so the blanket gets bigger as it unfolds.  We also made multiple umbrellas, a folded one, partially open and fully open, to make it seem like it was actually opening up.

TIP- 3-demensional scene looks really cool, but are definitely more tricky to set up and move the figures just right, if your basic scene and background is flat, it is a bit easier to do.  For your first video I recommend a flat scene.
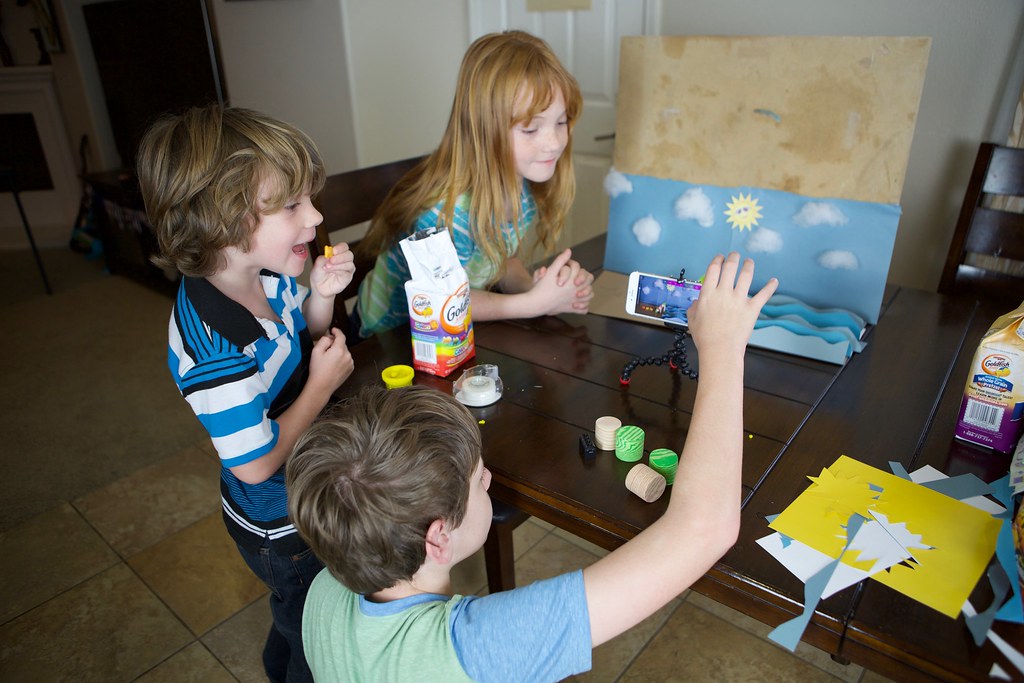
Making a Stop Motion Video
A 3-D Stop Motion set up we did- though someone kept eating our Goldfish!
Here is our Picnic Video-the third video we actually made.

4. Camera Steady -Start Recording
     You definitely need to have your camera mounted or somehow stationary, movement of the camera will make the whole video off and shaky.  You can use a stand for your phone or tablet, or a third party one.  For our picnic, I mounted my phone using a phone tri-pod which I attached to the handle of my camera tri-pod, a bit crazy but it worked. Once your camera and props are in place, then start shooting.
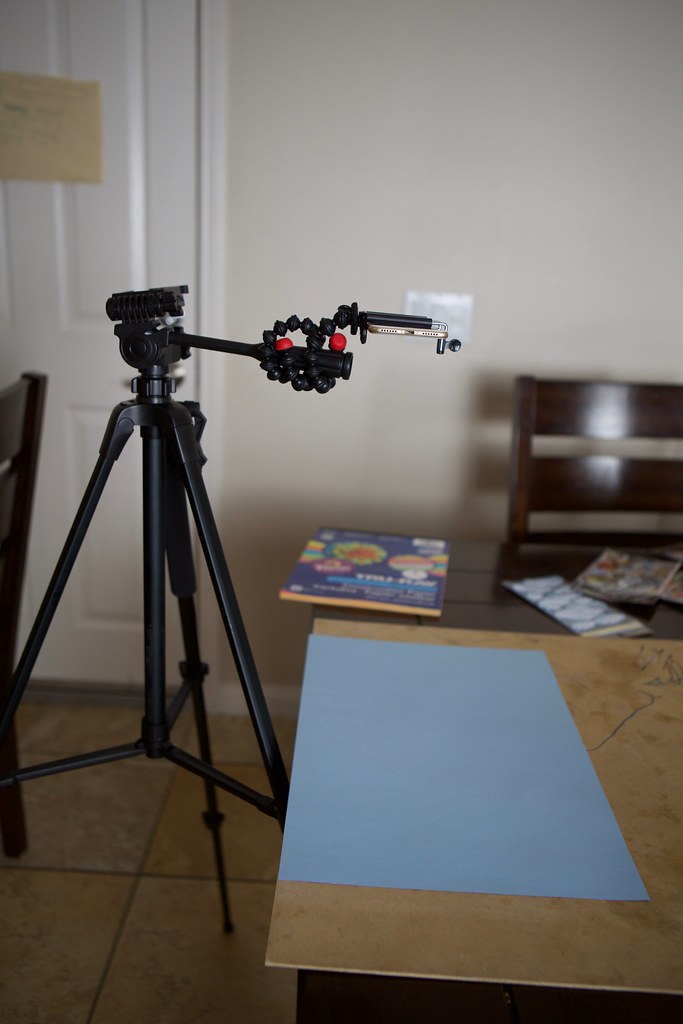
How to mount camera for stop motion video


5. Shooting Tips
   --Small Movements-- the more fluid you want your movie, then you need very small movements between pictures.  You want to set your things in place, take a picture then move your character just a tiny bit, then snap the next picture, etc.  If you want something to move faster, then move it a bigger space.
Goldfish Crackers

   -Keep things moving-- unless something is supposed to be stationary, like a house or tree- you will want to move each movable thing a little bit in almost every shot to help it look more realistic.  We did not do this as much with our first video, as we were still learning, but learned this trick in the end.

(Example- in the picnic, even when the clouds rolling in is the focus, we still moved the Goldfish just the slightest bit to make sure he looked like he wasn't a frozen statue all of the sudden).

-Take lots of pictures!  Our Christmas Tree video is 145 frames and lasts about 30 seconds, so yes we moved everything 145 times for 30 seconds worth of film.  It does take some time to do it well, but it is so fun!  My daughter would move the things, then I would click, say okay, and she would move them a little bit more, it was fun working together.

Have fun!

It really can be a lot of fun making these videos, in fact we are kind of hooked and have made several now.

If you want to take a try and making Stop-Action movies- definitely check out more tips and tricks at the Goldfish Website.

--While there--Don't miss out on your chance to enter to win $5000 when you make a video of you own.

Have you ever made a Stop-Motion Movie?

Wednesday, April 13, 2016

Kindy 500 Truck

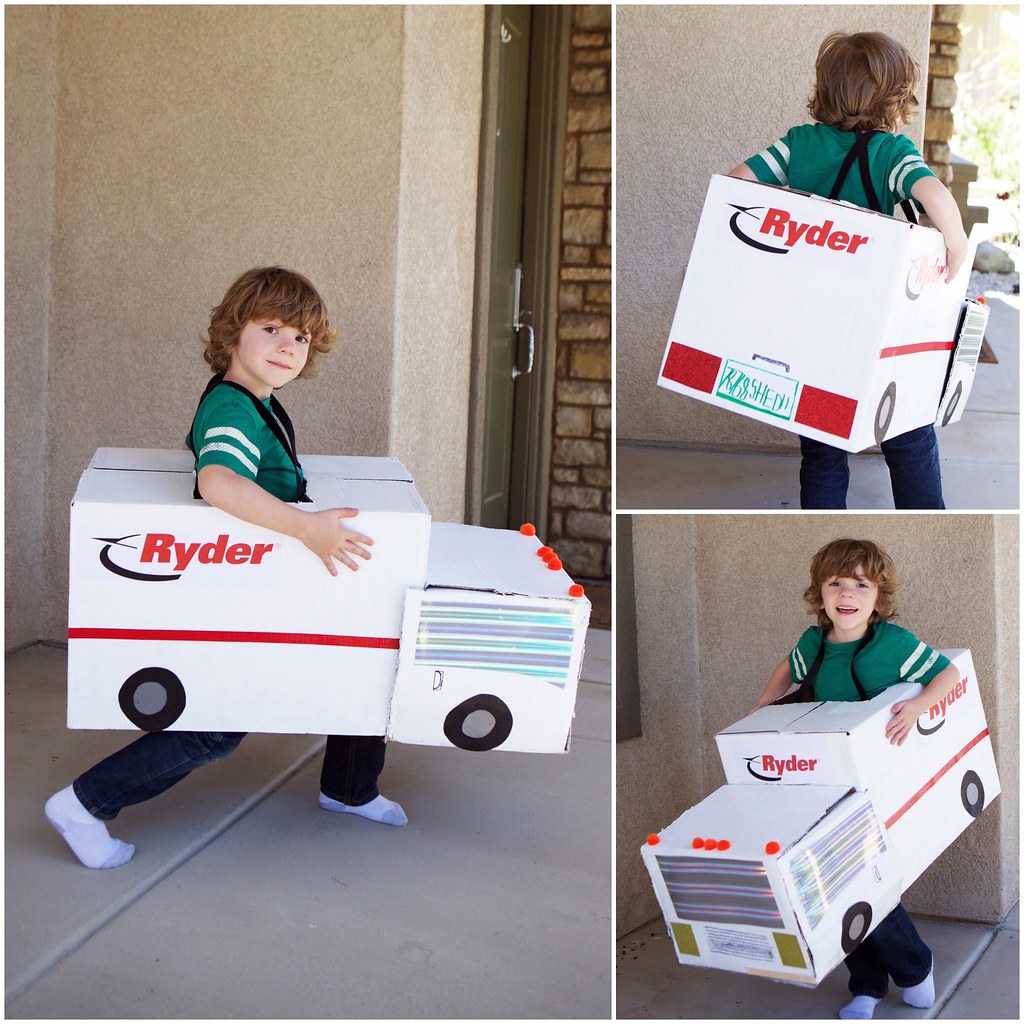
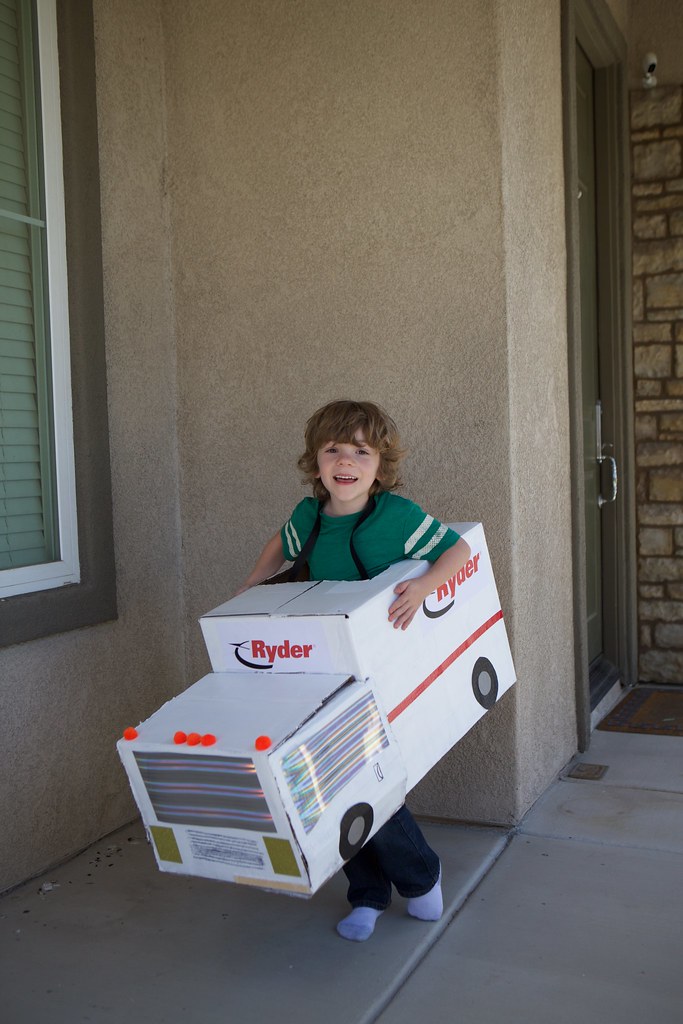
At our school when the kids are in kindergarten, they participate in the Kindy 500.   My oldest went to a different school for kinder, for my daughter we made an ice-cream truck, and for my youngest, we knew we had to make a Ryder truck, since his name is Ryder.
Kindy 500 Ryder Truck

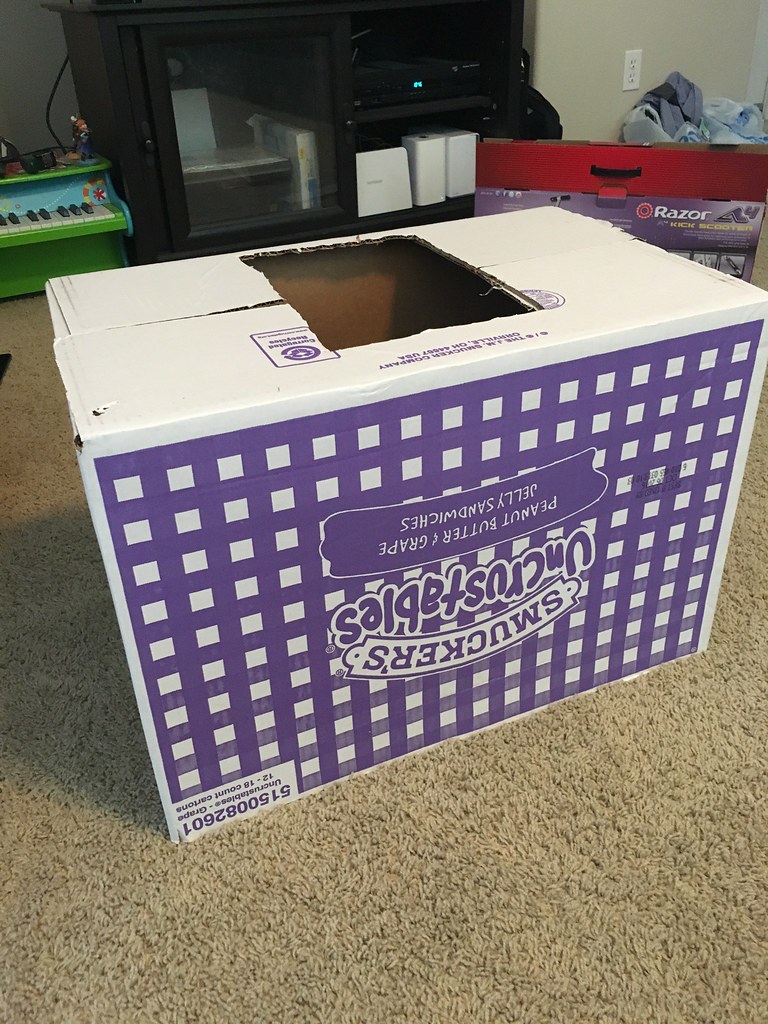
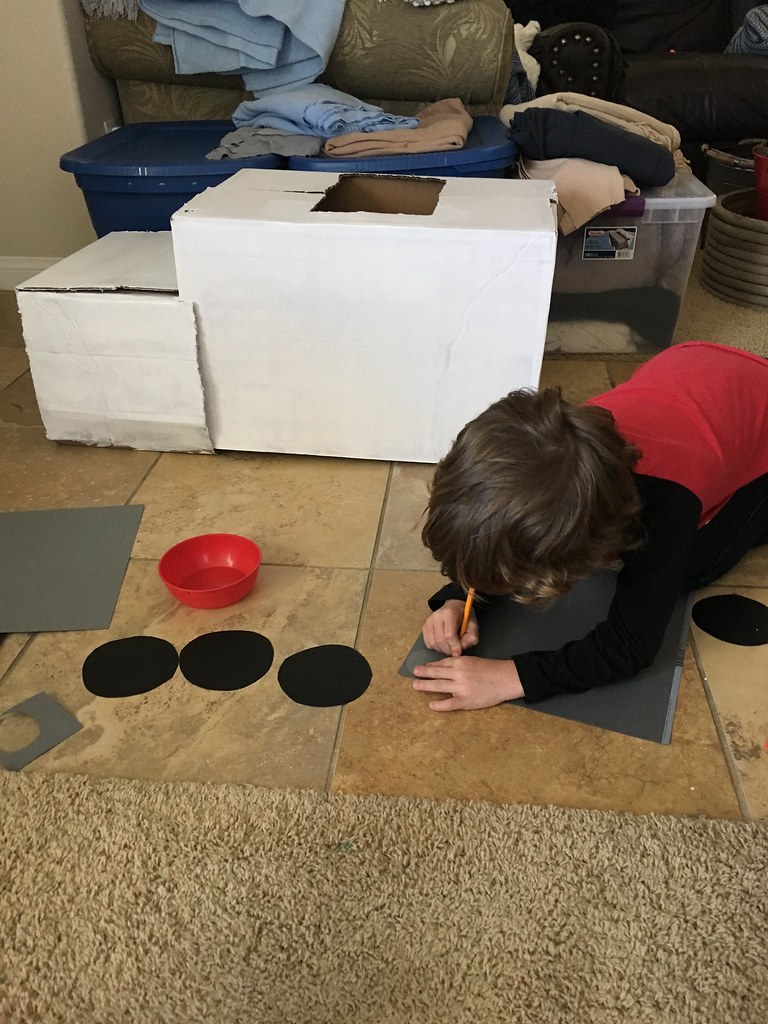
We began with two boxes, one was a Smuckers box that we got at Costco, the other was just a big shipping box we cut apart.  The Smuckers box was about 2' x 15", which really seemed like a great size, big enough to do things with, but not so big he couldn't carry it.
Box For Kindy 500 Car

We decided to turn the box upside down and cut a hole for what now is the top, this way the bottom was totally open so did not impede on his legs moving.

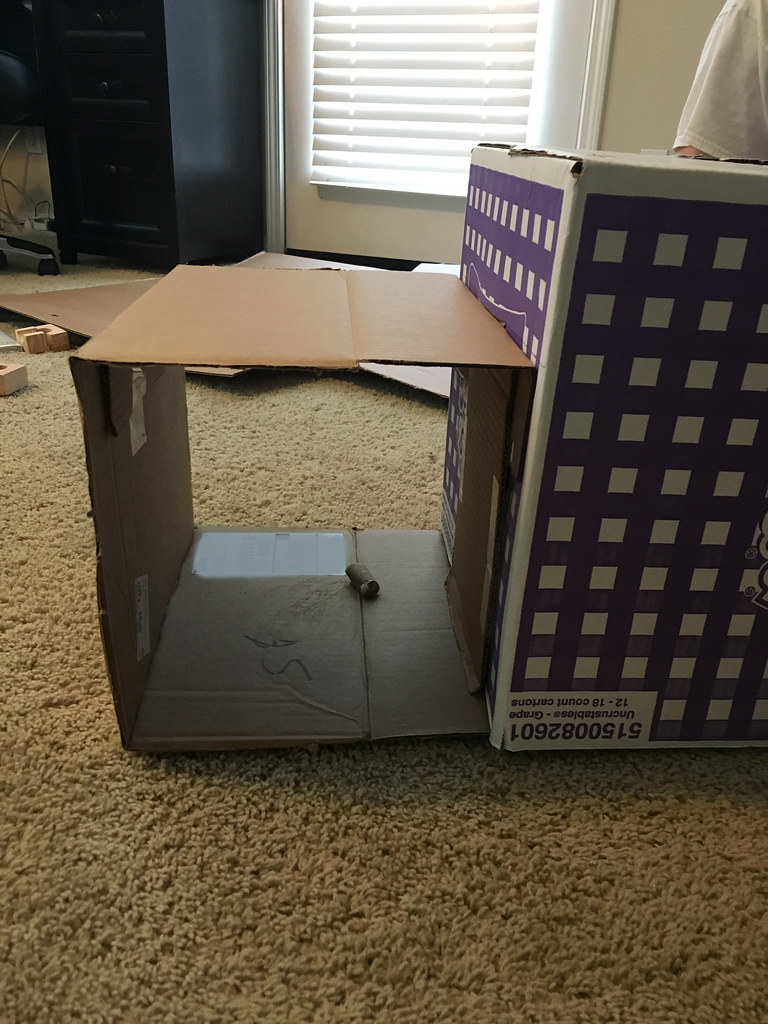
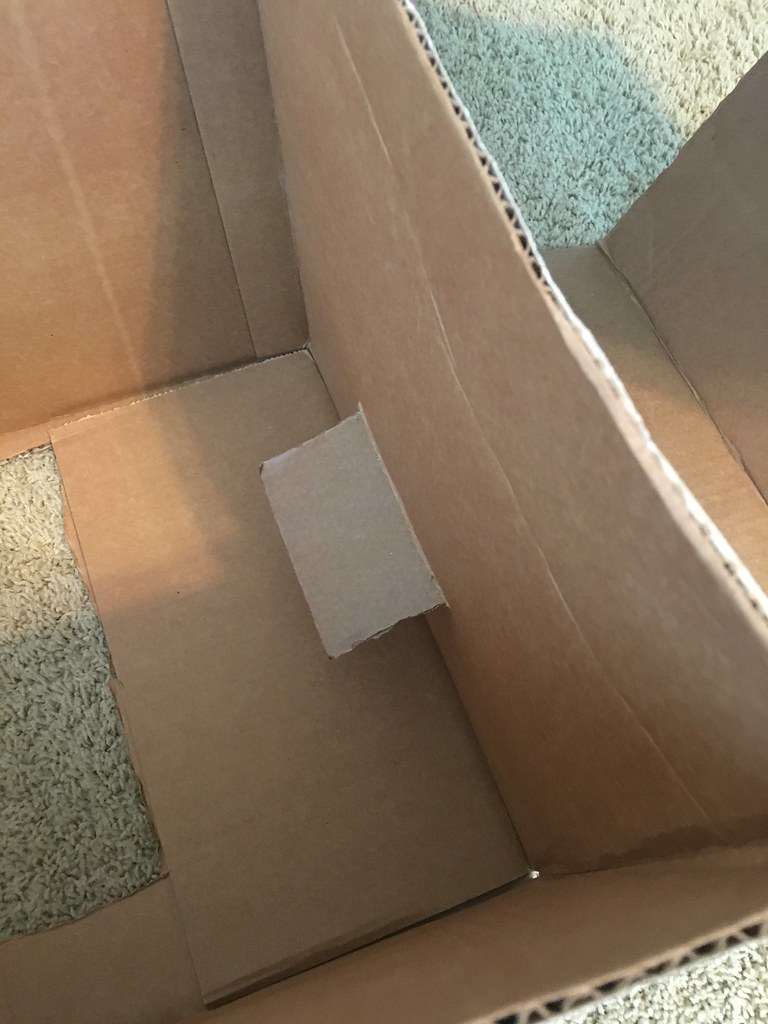
We created the cab by cutting the other box into a partial rectangle with a top tab, we cut a hole in the main box to slide the tab into and taped it into place.  The doors, were another long strip of the box that we folded up each side and down around the bottom.
Assembling a box car
Tab to connect boxes
Tab from cab inside main box before we taped it down
We painted the box white, which did take several coats, then finished with a glossy white spray paint.

Ryder made the wheels from card-stock.
Making the Wheels

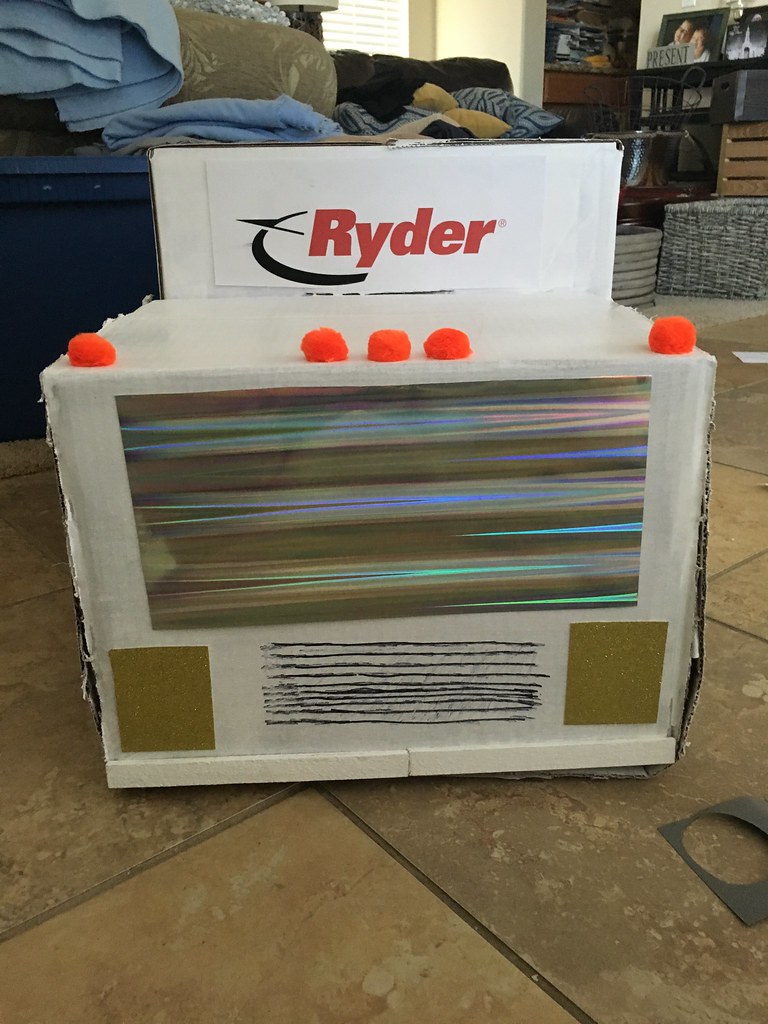
 We used red duct tape for the stripe, fancy sparkly red and yellow card stock for the lights, printed the Ryder logo and glued orange pom-poms for the top truck lights.
Kindy 500 Truck- front view
Kindy 500 Car

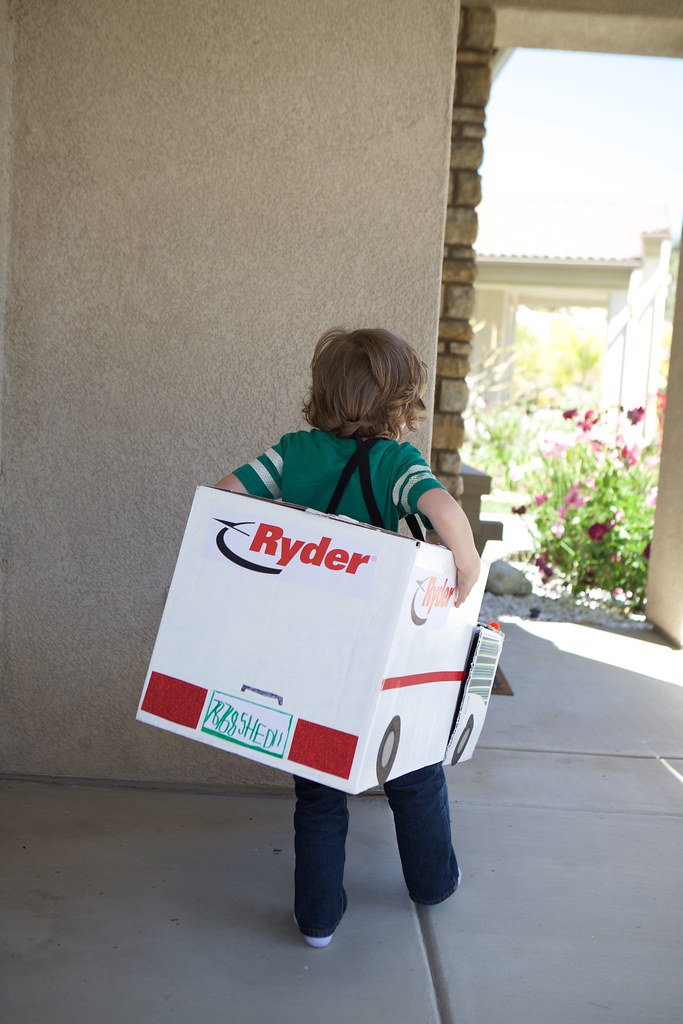
For the straps, I actually got a roll of velcro and we used the sticky velcro adhesive strips (the kind you often use to hang pictures on walls) inside of the box then used the long strips to make two straps to go over his shoulders.
Back of Ryder Truck for Kindy 500

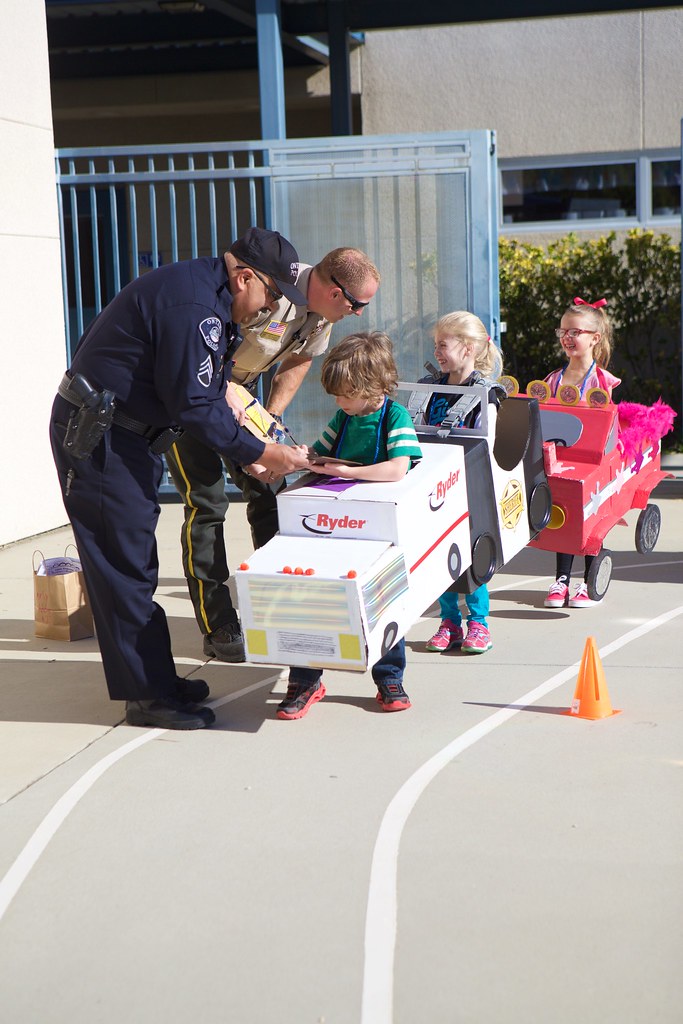
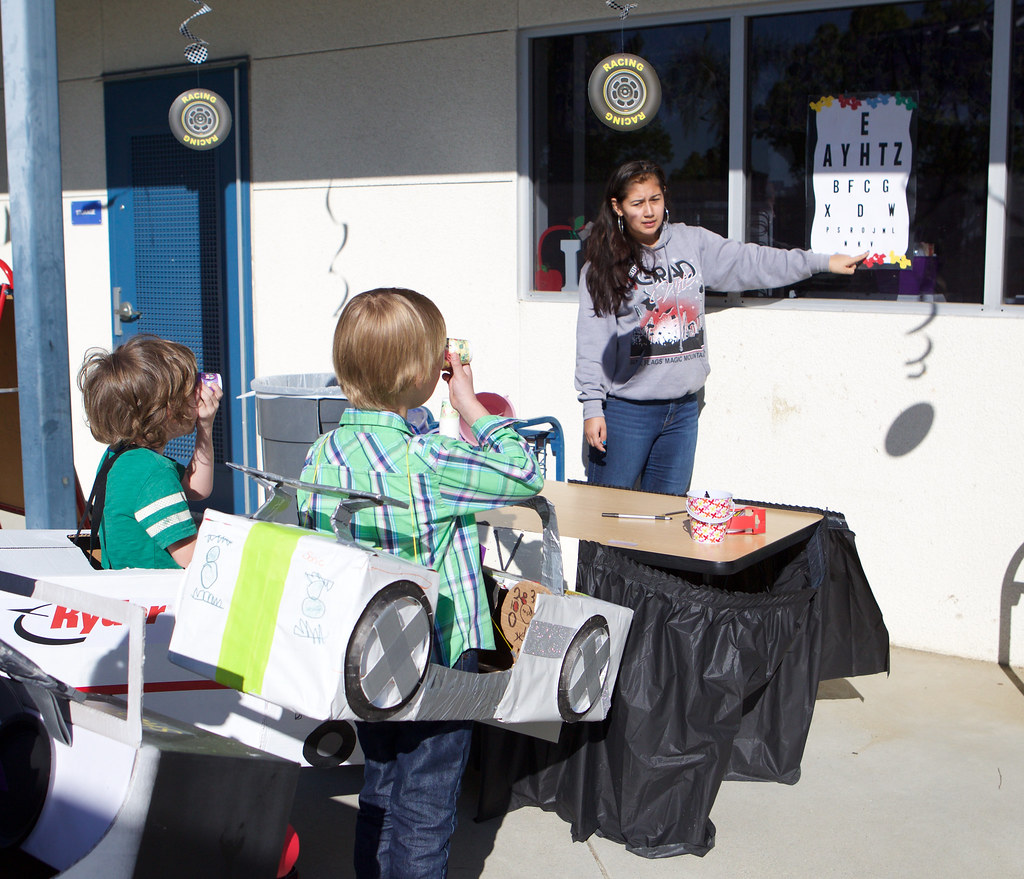
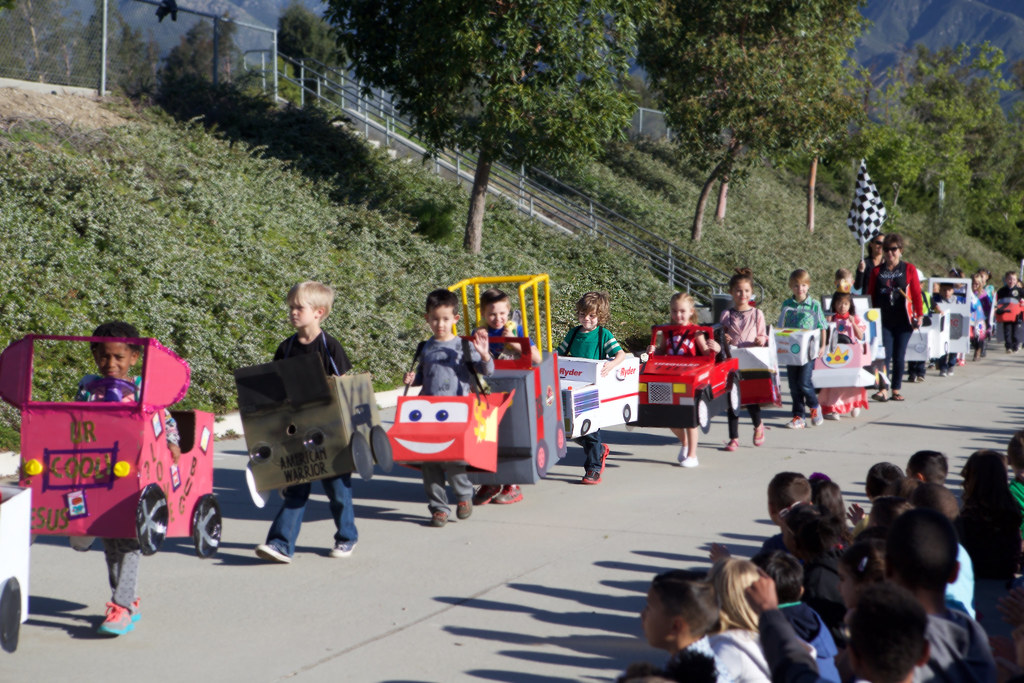
He loved his Ryder Tuck and had such a fun time going on a parade for the school, getting his first ticket, going through a car wash, going to the KMV (Kindy Motor Vehicles), and 'driving' through a Starbucks and Krispy Kremes, chocolate milk and donuts.
Getting a ticket from cop at Kindy 500

Kid DMV
Kindy 500 Parade

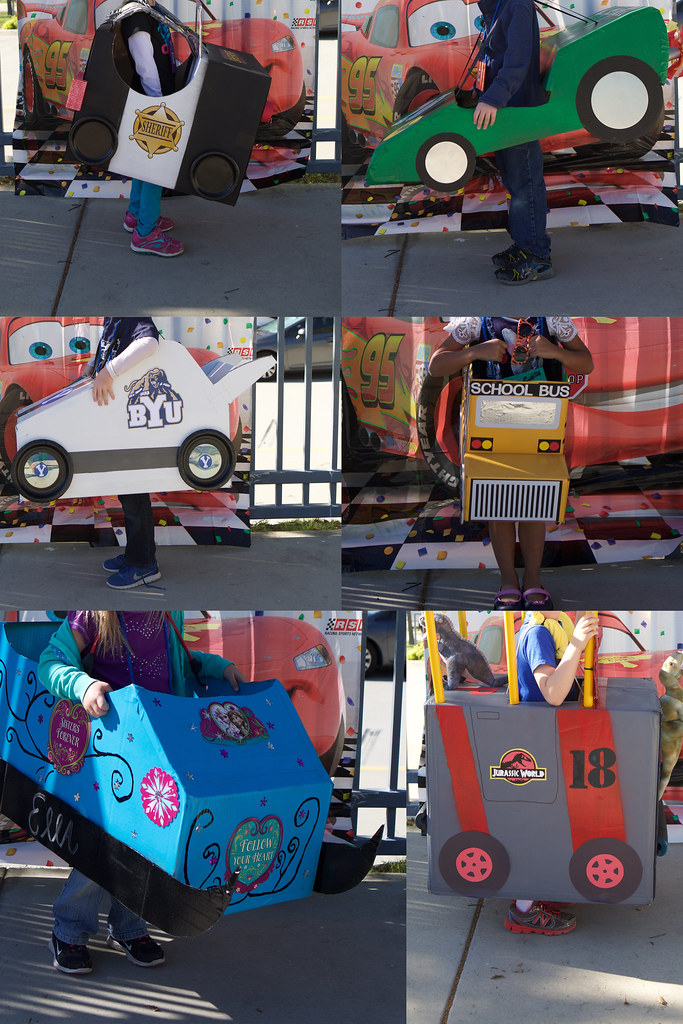
There were a lot cute and creative cars- here are some of my favorites from the day.
Kindy 500 Cars
Kindy 500 Car Ideas-2

Another (our last) Kindy 500 is now done, his truck worked out great and he still wears it around the house pretty regularly. Does your school do a Kindy 500?
Thursday, March 31, 2016

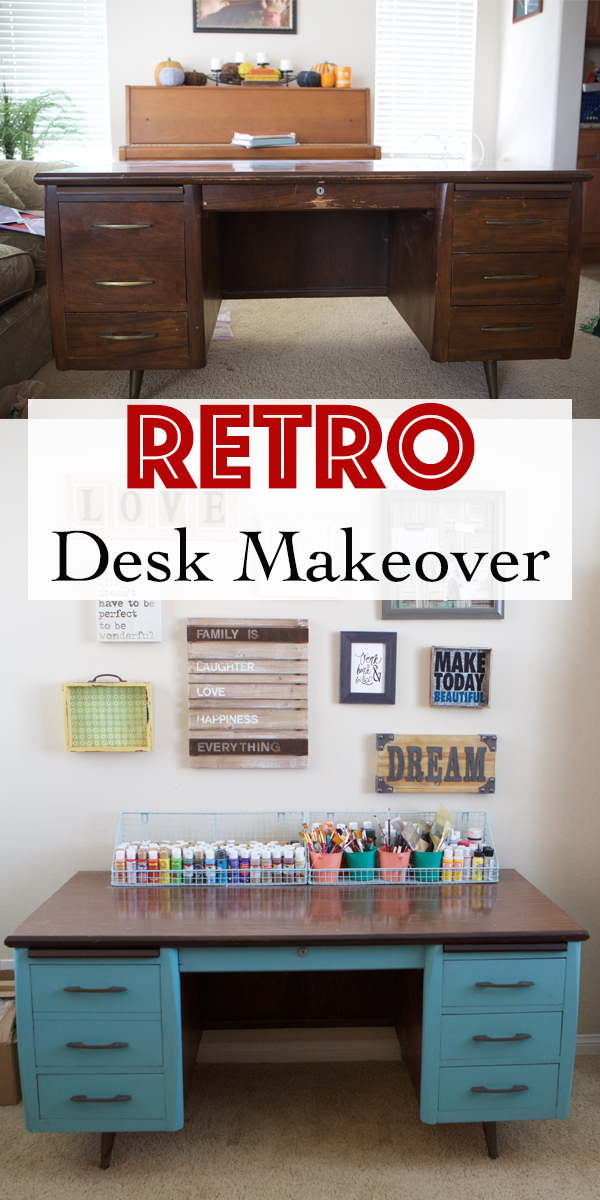
Desk Makeover: Painting a Desk

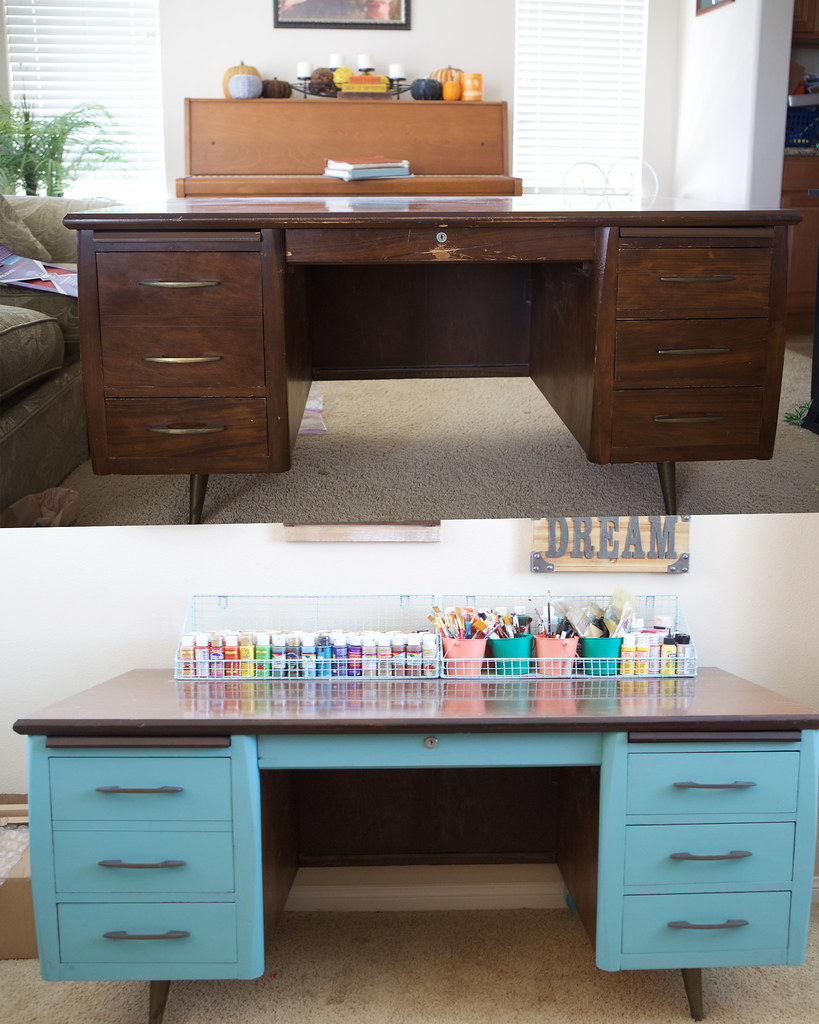
When I was redoing my craft room, I obviously needed a work space or desk.  I came really close to spending hundreds of dollars on a great desk at a store, but I help off and kept checking some of my favorite thrift stores until I found the perfect desk for only $30.
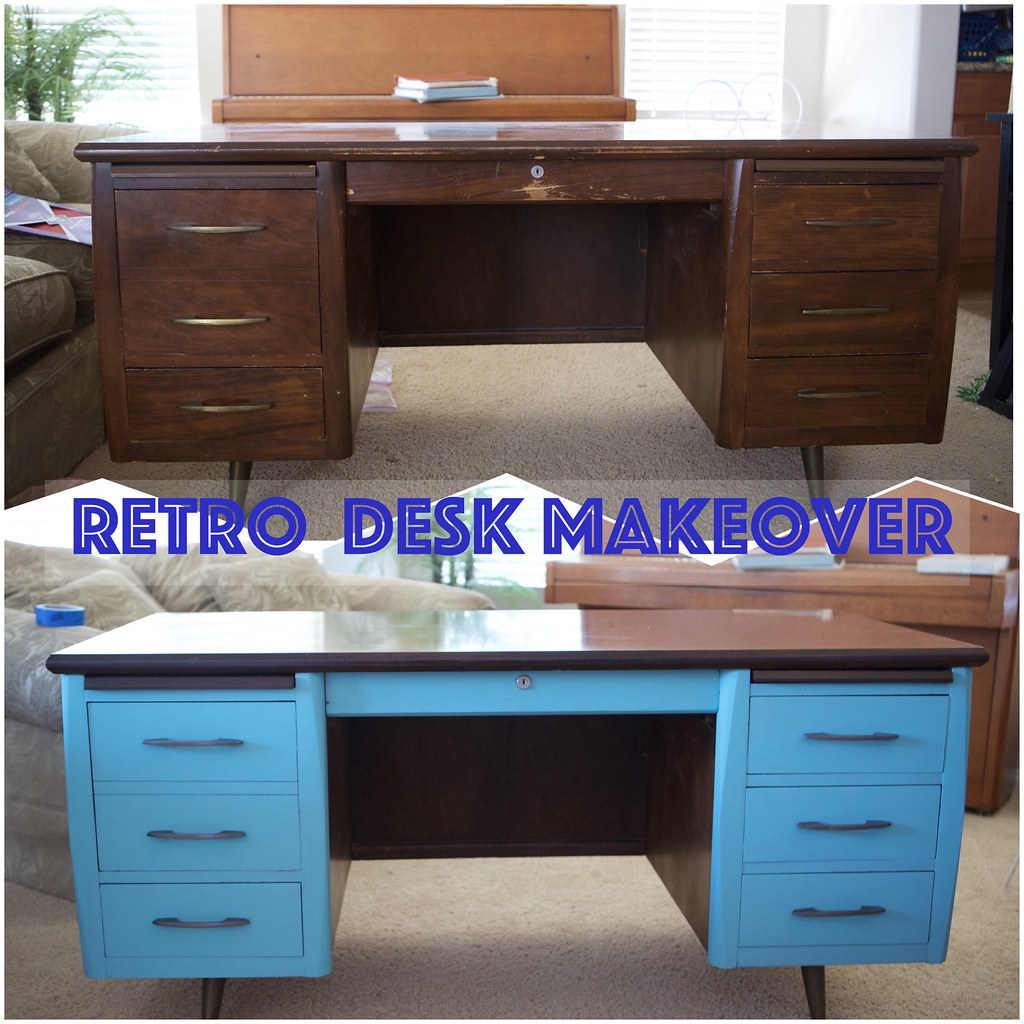
Retro Desk Makeover with Chalk Paint

The desk definitely need a touch up, and I really wanted to add a pop of color to it.
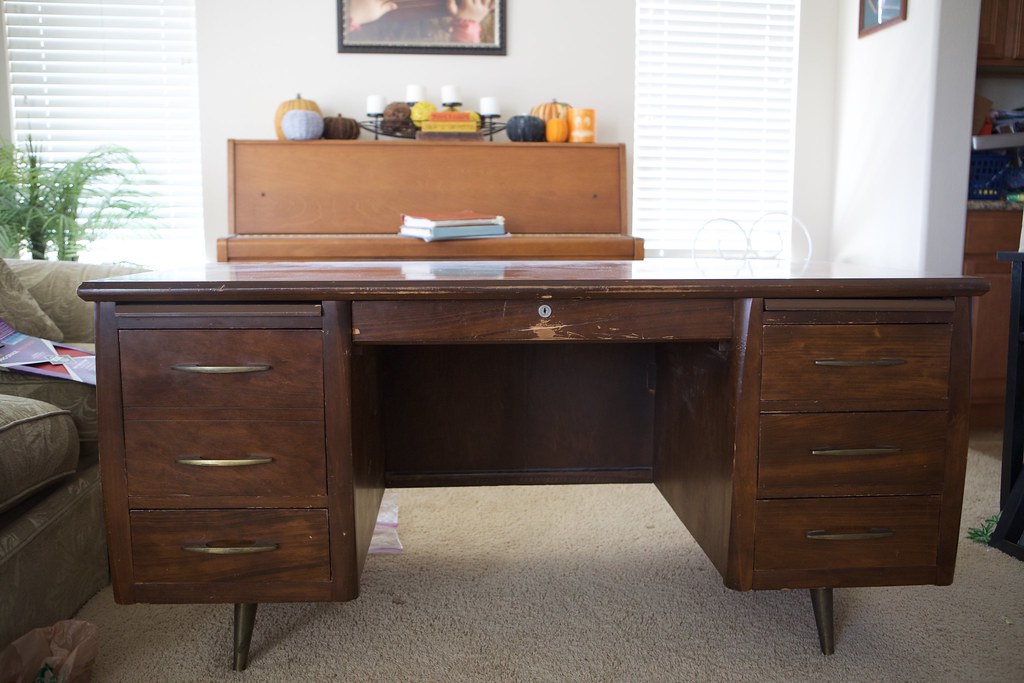
Thrift Store Desk

When looking for a used desk, or any piece of furniture, one of the main things to look for is overall strength of the piece.  Little chips and dings, scribbles or marks, all fixable.  Missing a leg, wobbly, or drawers that don't come out are things that unless you are good at wood work might be hard to fix.

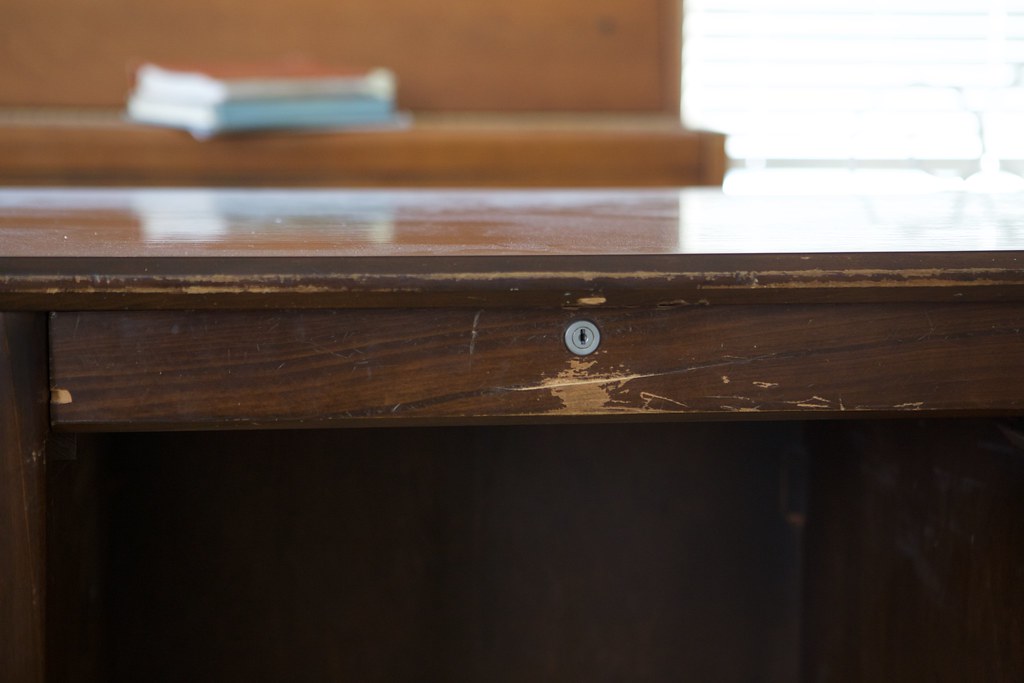
This desk has great bones, it was definitely chipped and dinged but it was perfect.  I love how deep it is, giving it a big work space, it isn't a small computer desk size.
Scratches on Desk

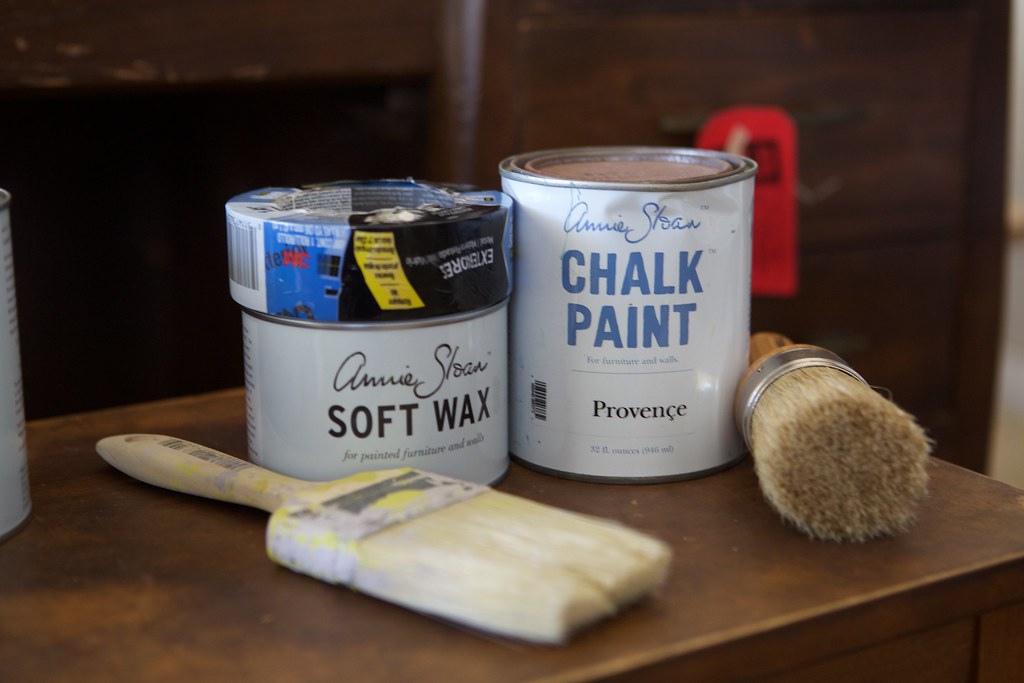
I decided to go for a bit of a retro look and used Annie Sloan Provence Chalk Paint.
Annie Sloan Chalk Paint

It took two coats of paint, but as is great with Annie Sloan paint, after a good wipe down cleaning of the piece you just start painting.

I took all of the hardware out of the desk before painting, and taped the drawer lock with painters tape to protect it.
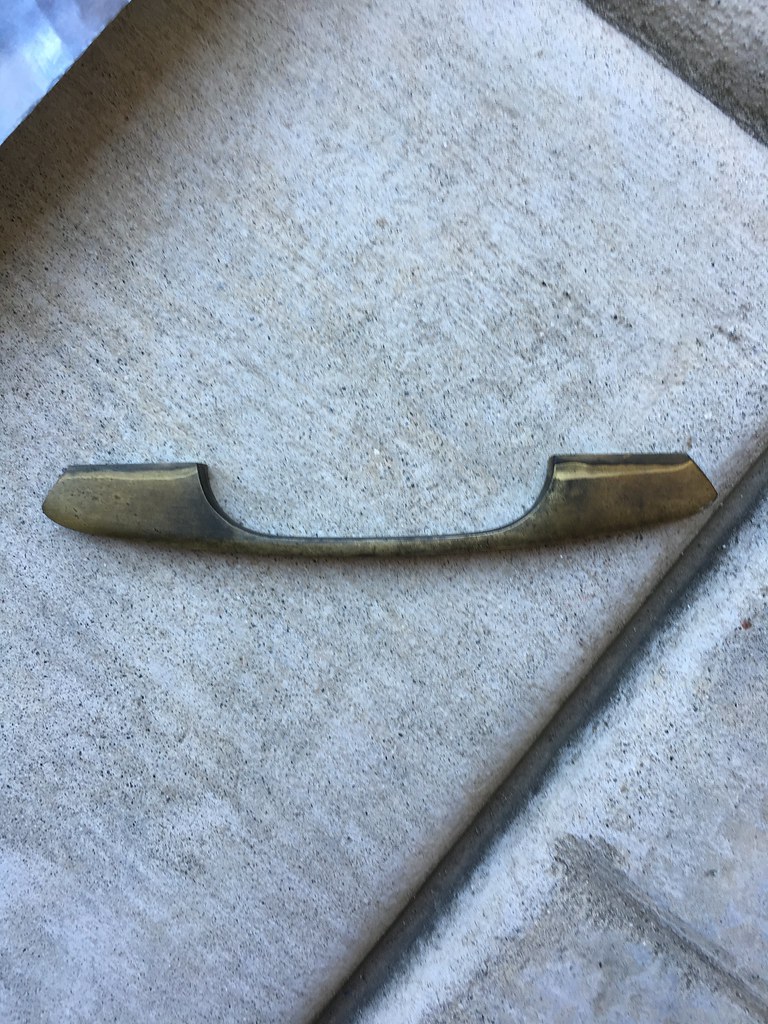
Desk hardware before spray paint

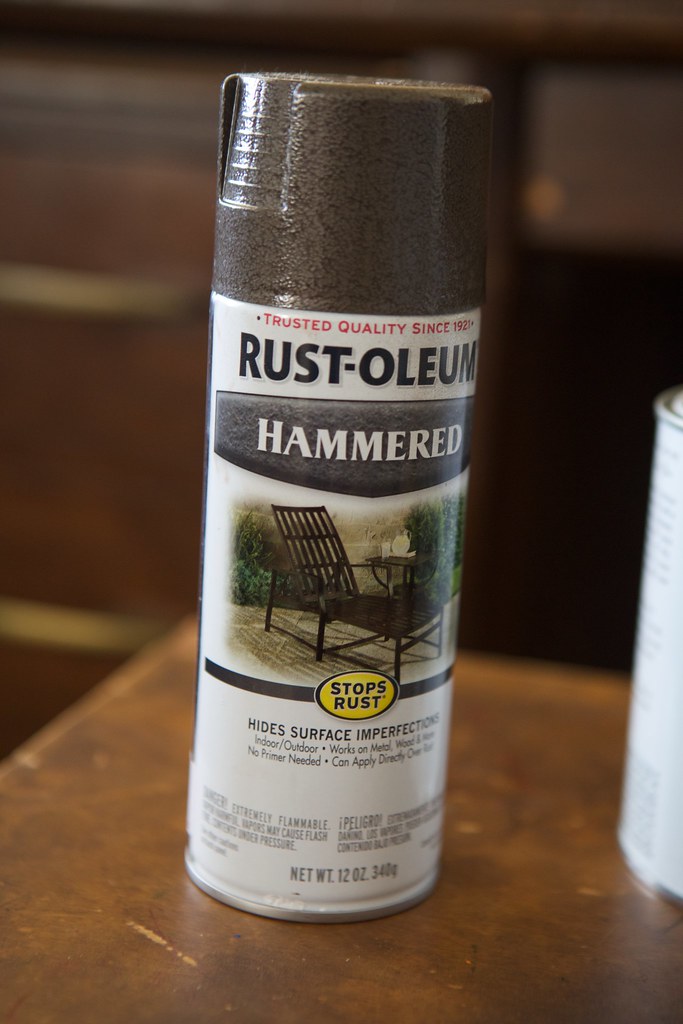
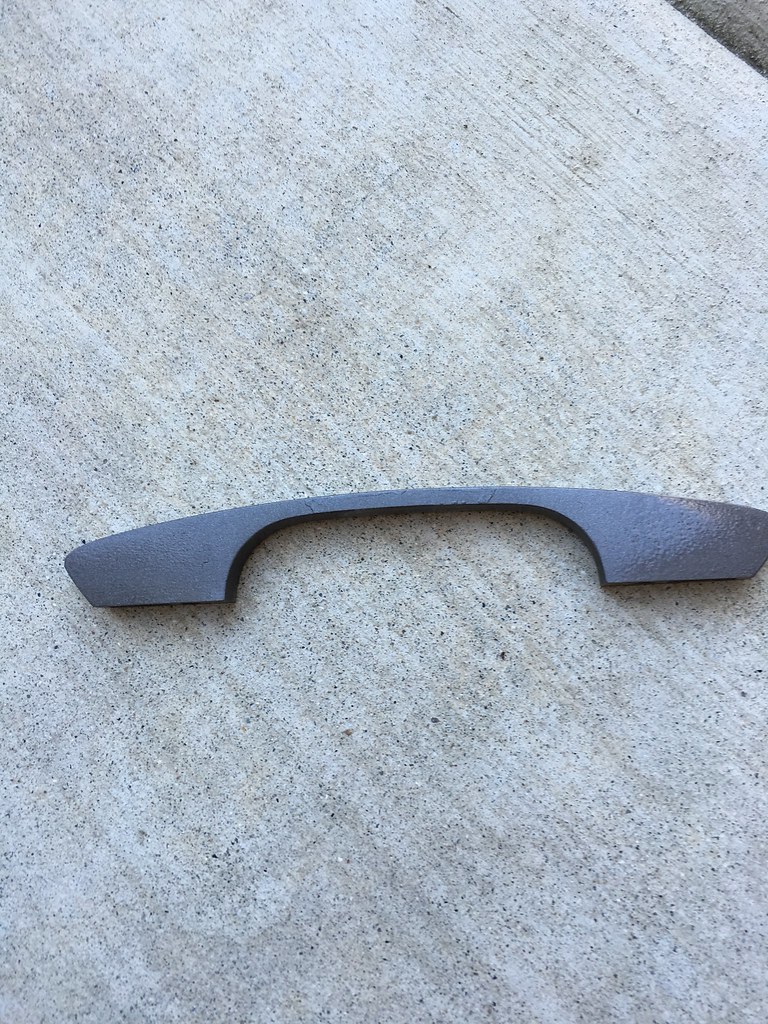
I spray painted the hardware with Rust-Oleum Hammered spray paint.
Spray Paint for desk hardware
Desk hardware after spray paint
Hardware after spray painting
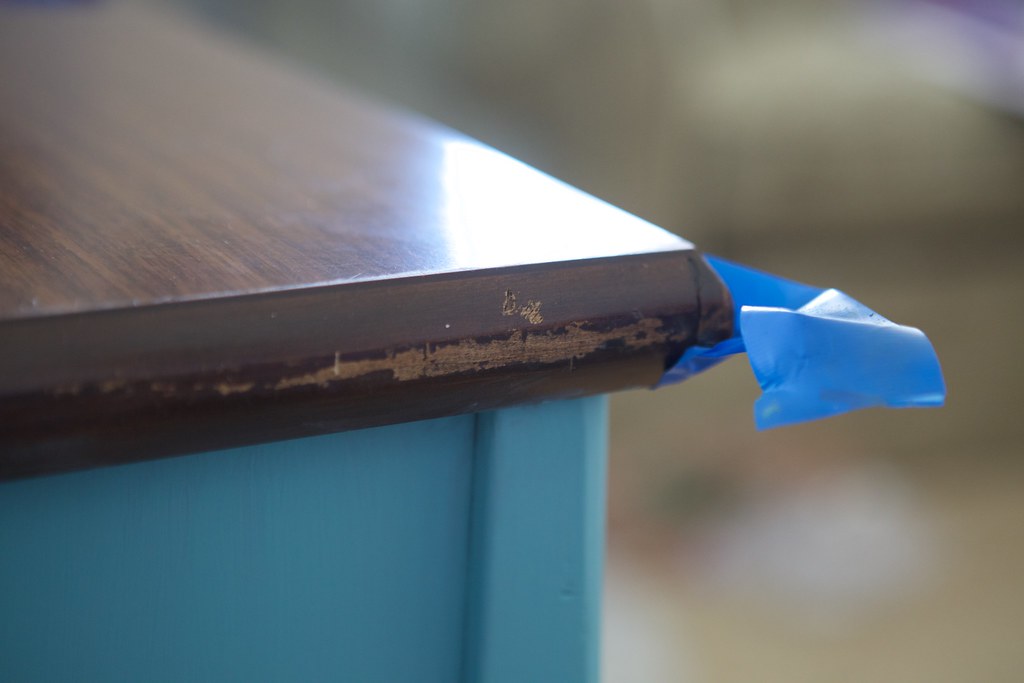
I decided to leave the top of the desk as it was, as I liked the contrast of color between the blue and brown; however it was pretty chipped along the edge so I had to do something.
Rough Edge on Desk
I used a dark stain and painted the edge only of the desk, which covered up all the dings and made the color a little deeper and richer making the contrast even greater.

I finished up with a coat of Annie Sloan wax to seal the desk.

I love how the finished desk looks, and love all the deep drawers for storage and the big works space.
Retro_Desk_Makeover
You can see my final craft room here. 
Craft Room

Wednesday, March 2, 2016

Craft Room and Play Room Combination

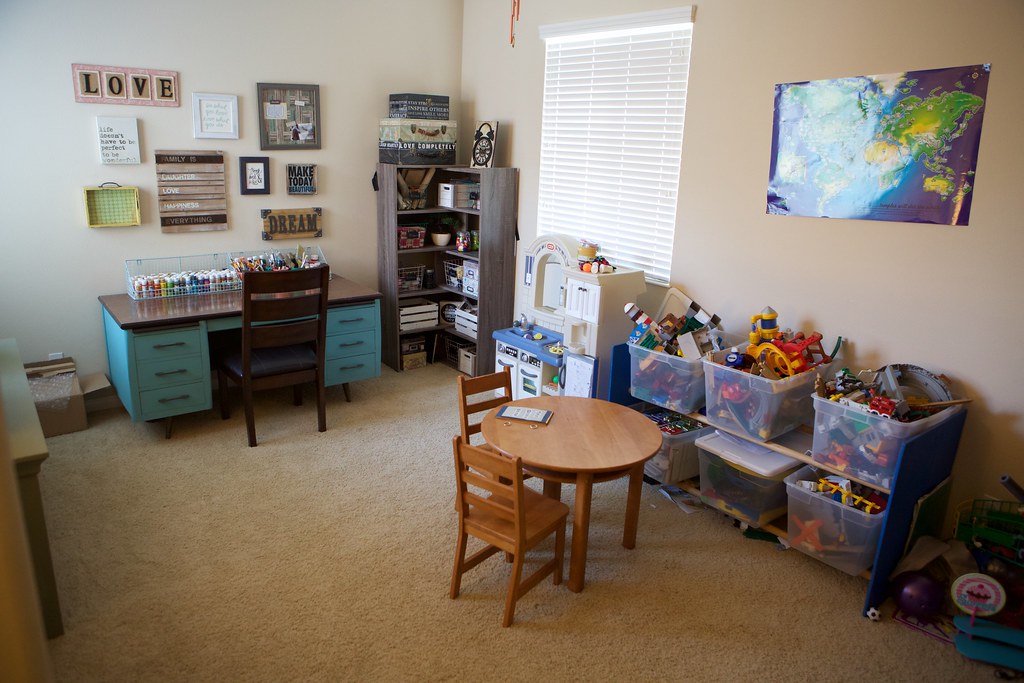
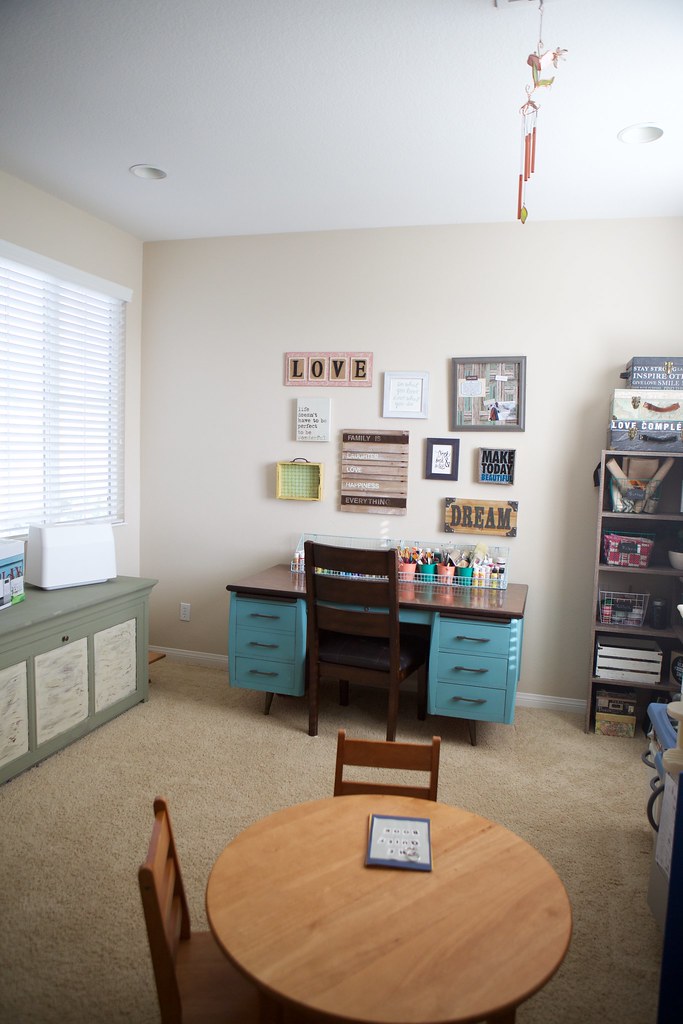
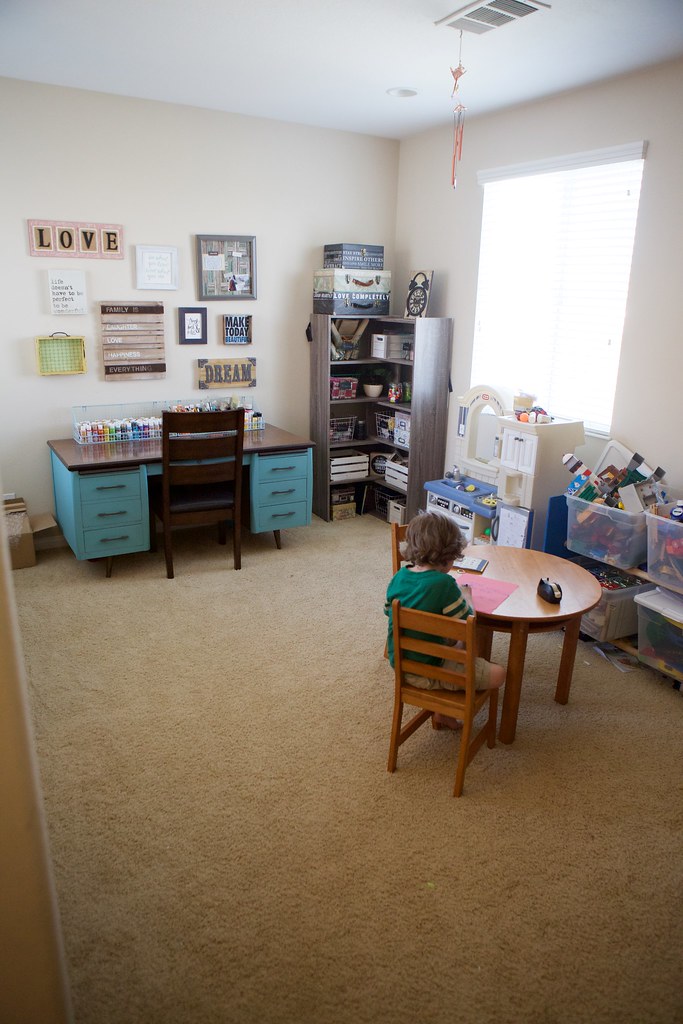
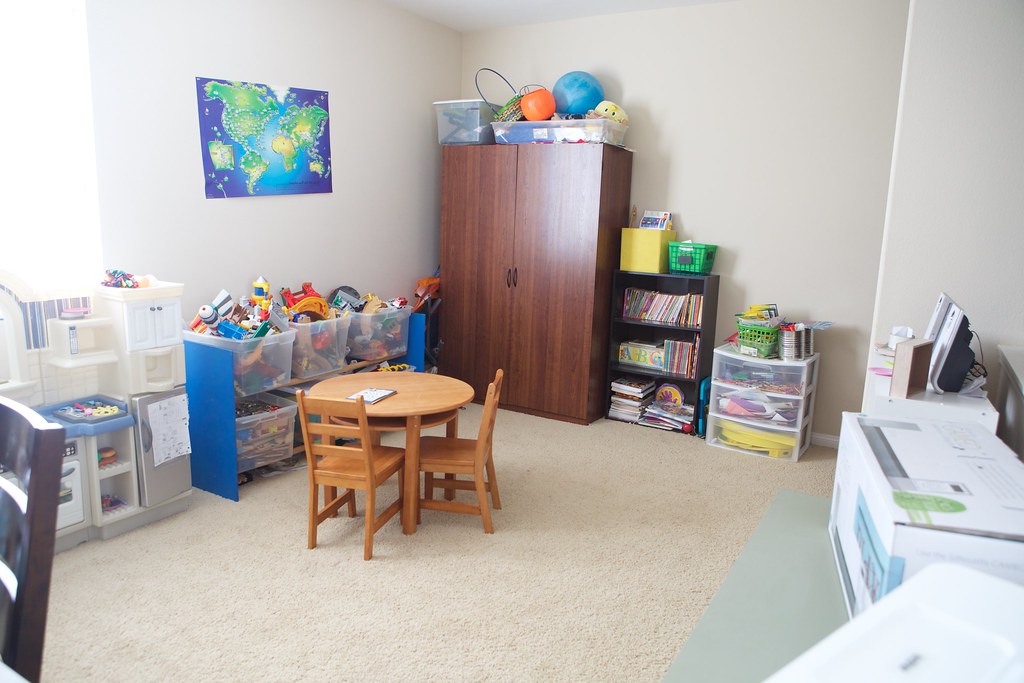
I have always told my kids that when they got older I would be changing their play room into my craft room; well that day has come!   Though I wasn't a totally mean mom, instead of completely taking over the playroom, I created a craft room/play room combination.
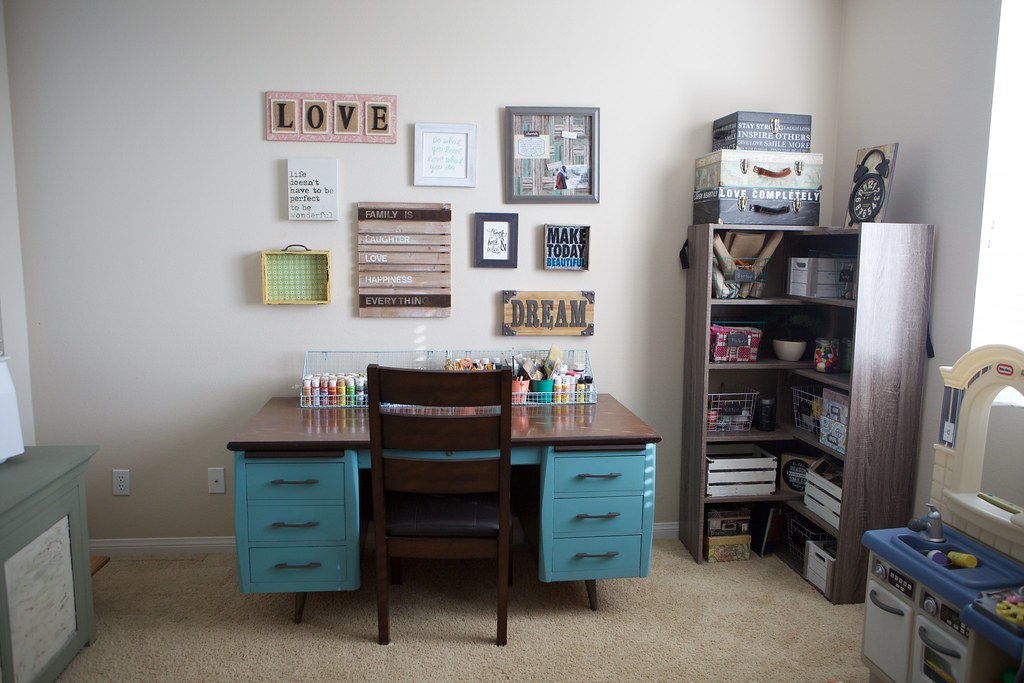
Craft Room-1
Craft room and play room

We have a small loft space upstairs that I needed to make work for this combination room, but I also wanted to do so on a small budget.
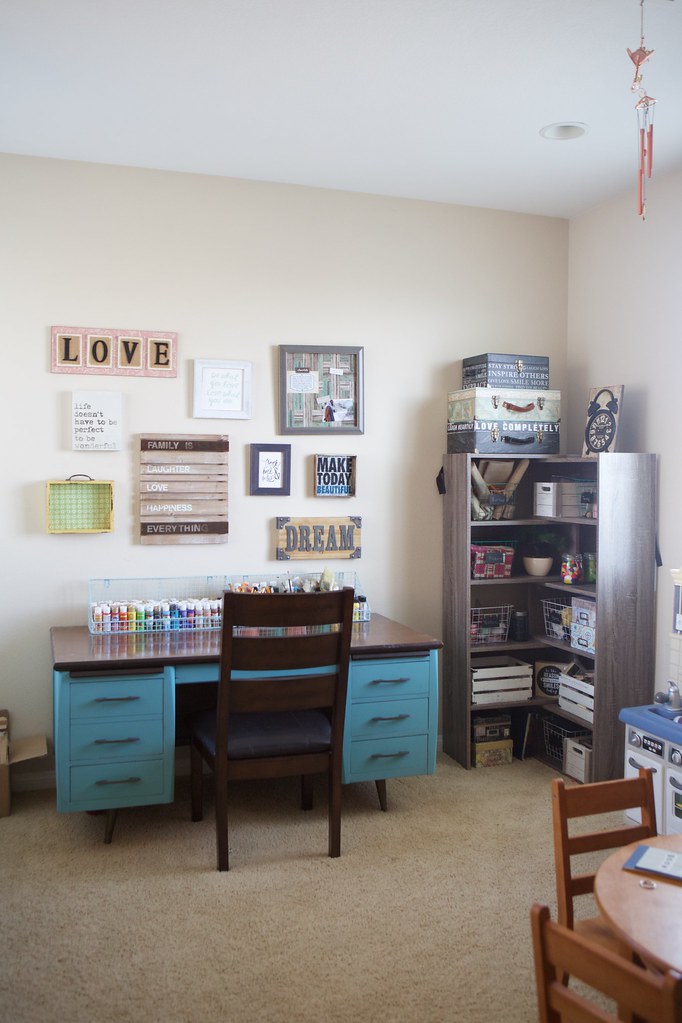
Craft Room-4

I went to several local thrift store every week until I found the perfect desk!  This solid wood desk was only $30.  It definitely needed a touch up and I wanted to give it a pop of color. (I will be giving the specific steps of refinishing in a future post).  This desk is solid wood and even has the secret locking drawers.
Desk Before and After
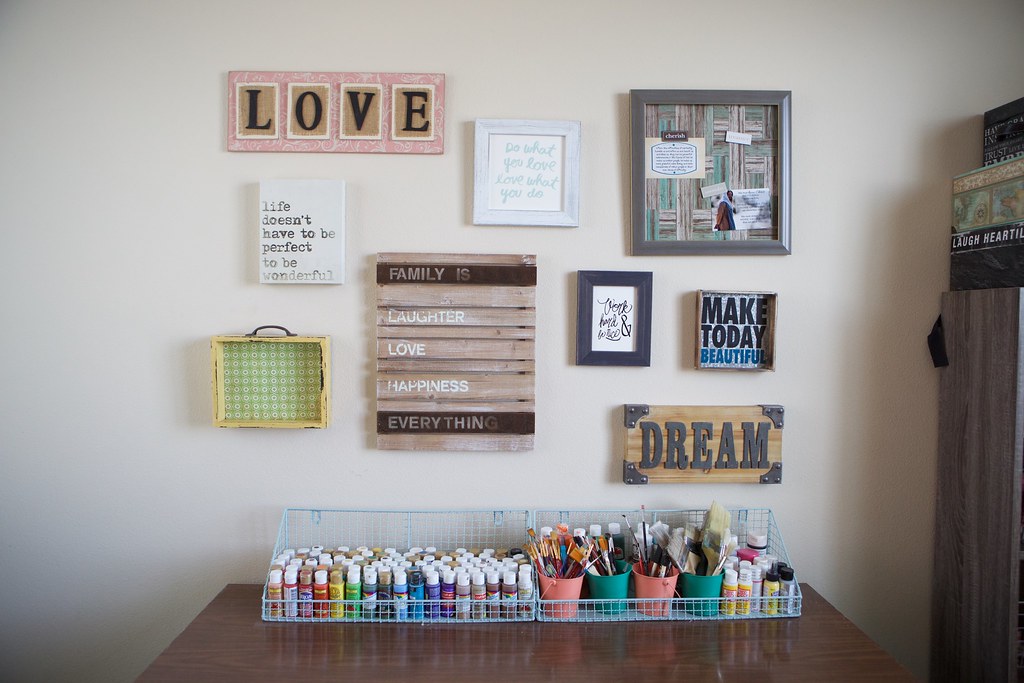
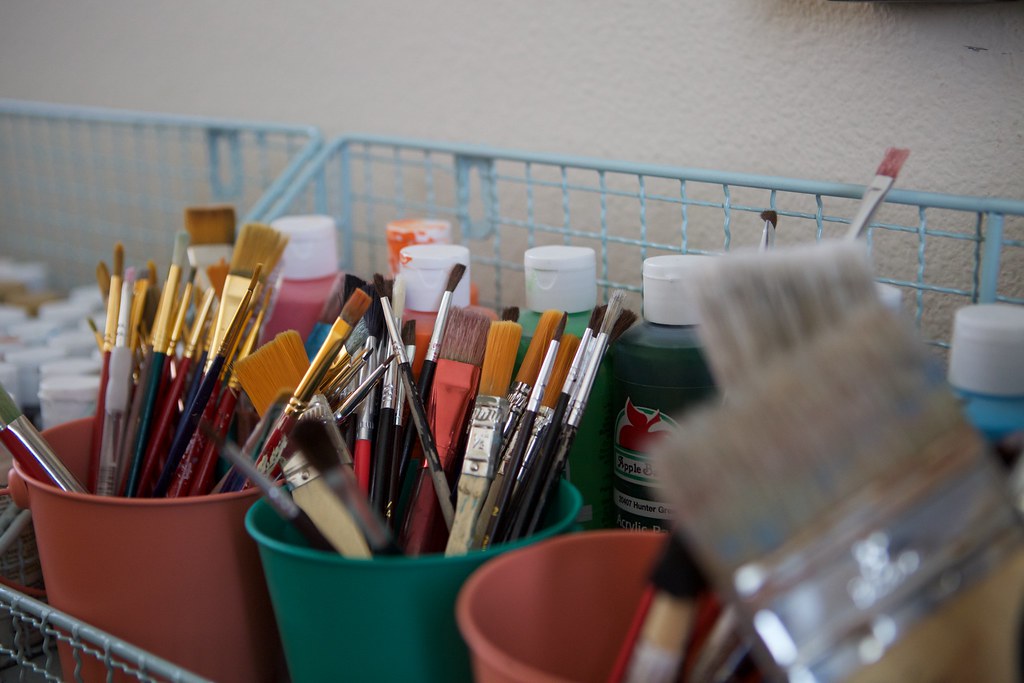
I am a painter, that is definitely the craft I do the most; I purchased these two long storage containers at Home Goods and they are the perfect spot for my paint and brushes.  The little buckets are from the dollar section at Target.
Wall Decor in Craft Room
Paint Brushes
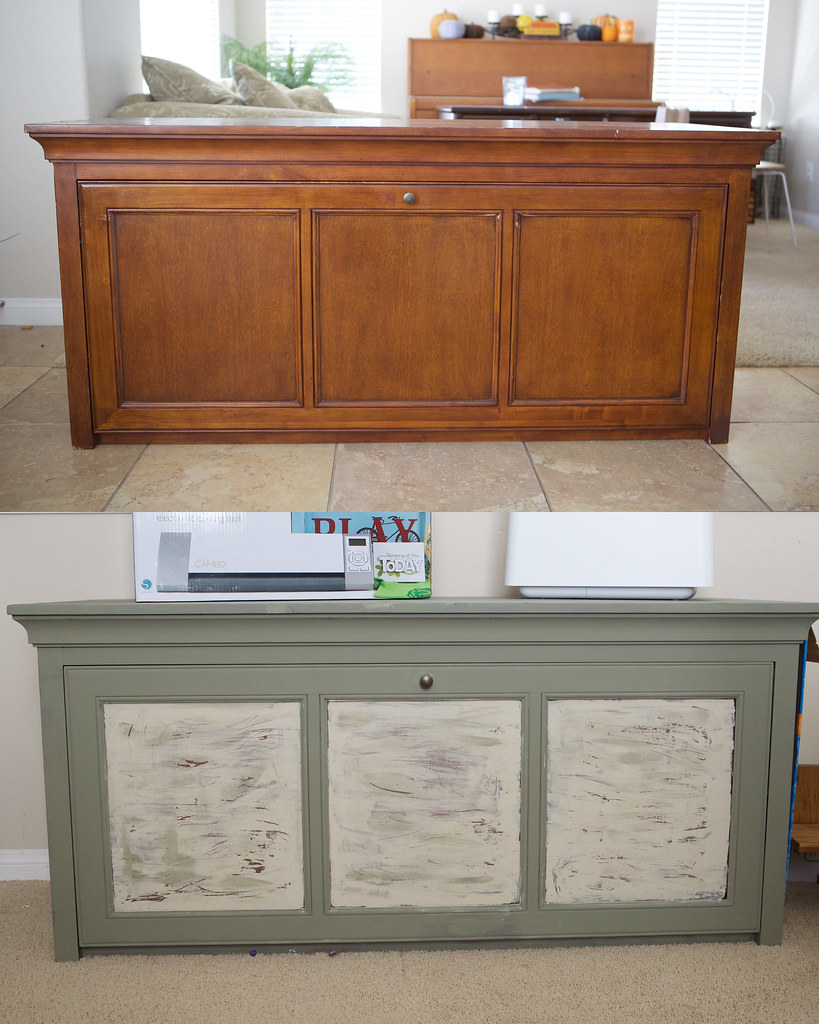
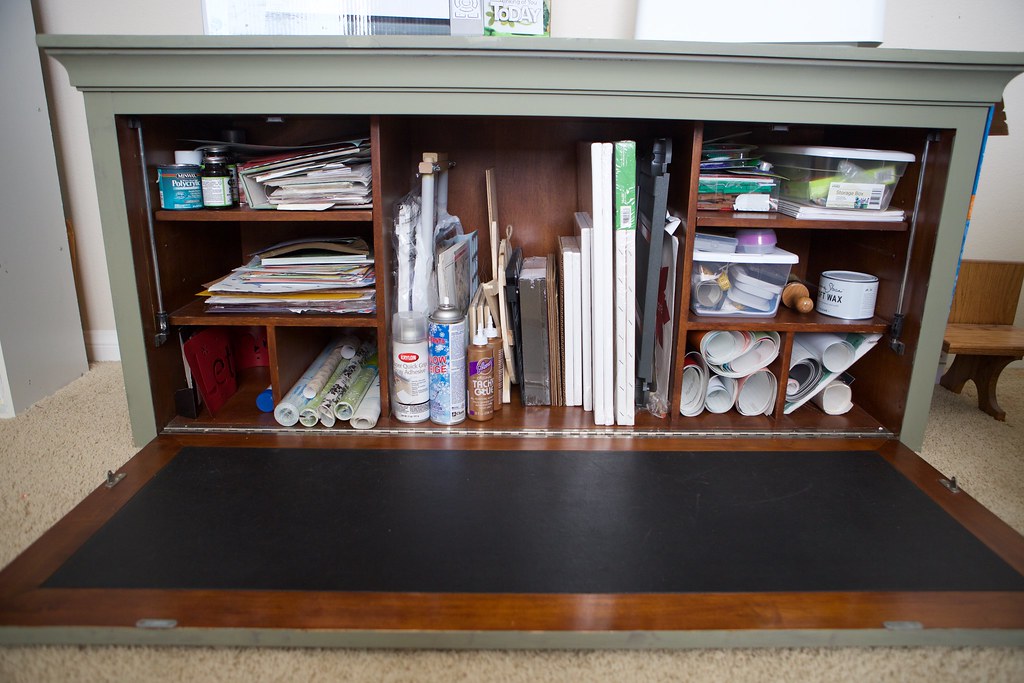
My other great thrift store find was this long storage piece- I believe it may even be a piece that used to go over a bed, I honestly don't know, all I know is it was big and had these great slots. It's price- also $30! This piece I found a Habitats for Humanity Re-Store.
Storage Before and After
Before and after of my storage piece
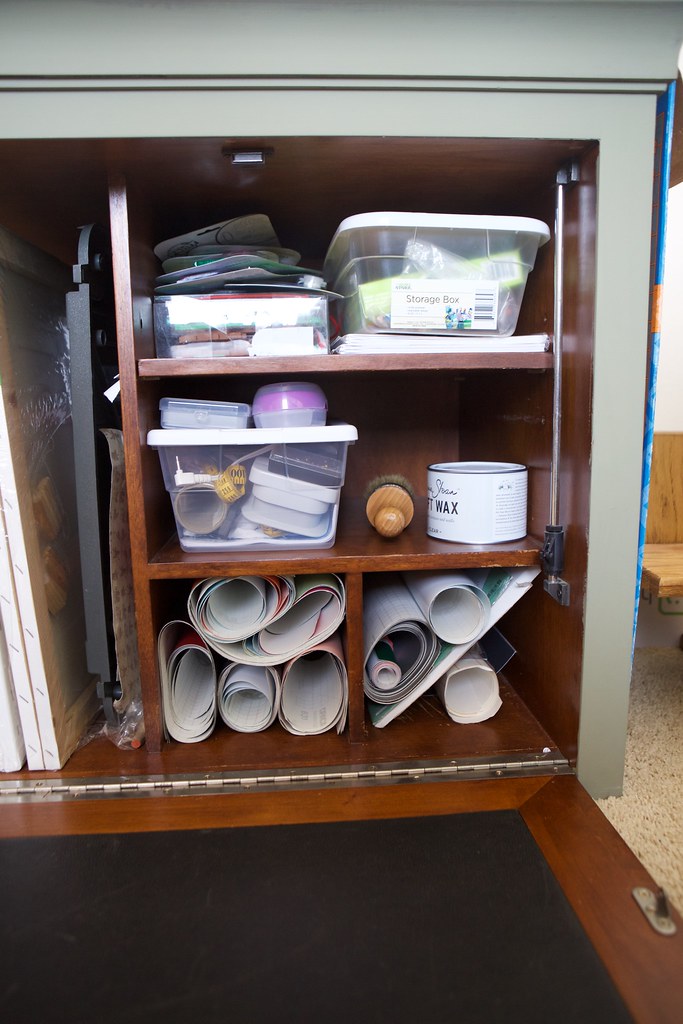
I store my scrapbook paper, vinyl, wood to paint and canvases in there.
Craft Storage Center

Craft Supply Storage


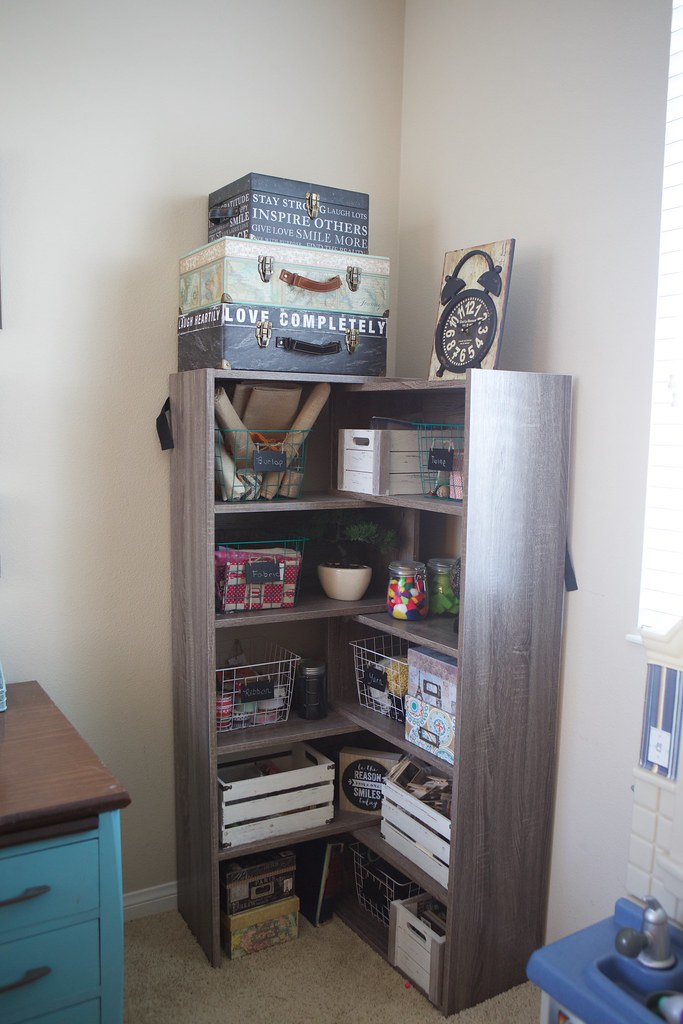
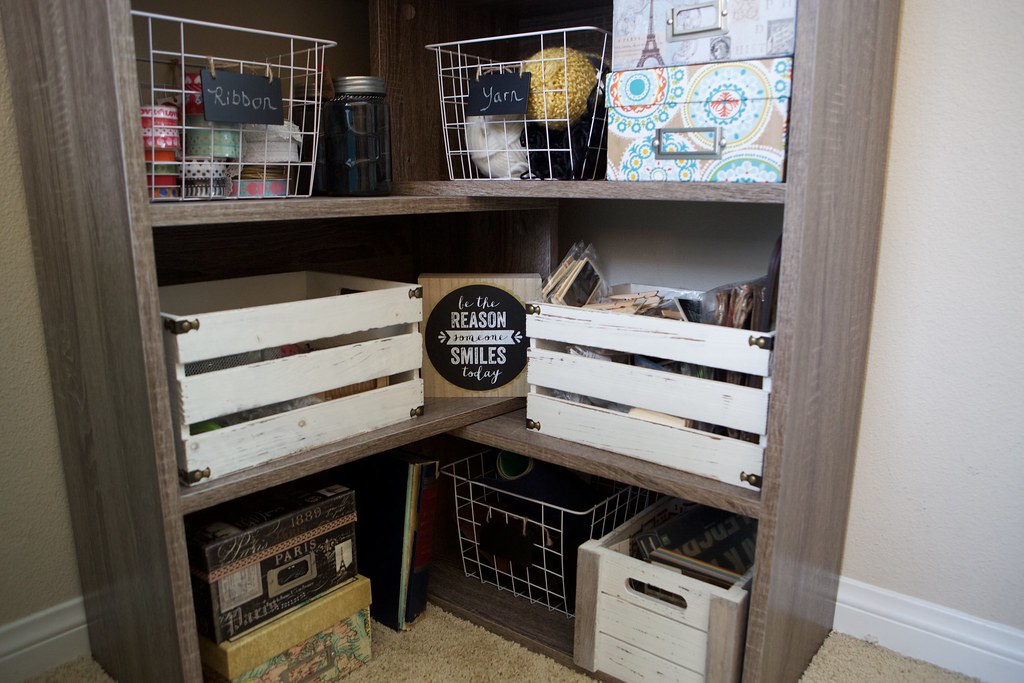
The corner-shelf I bought on Overstock- I love that it bends around the corner, though it can also be flat too.  I waited until Michaels had a 50% off storage boxes and then went crazy.
Corner Shelf
Buckts and bins

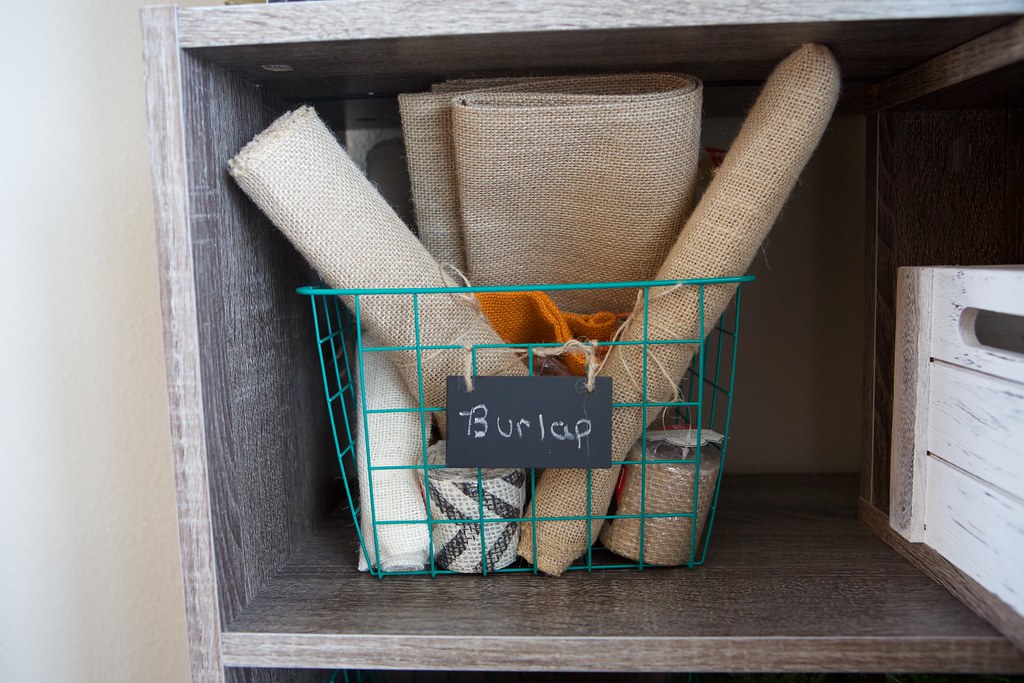
The metal bins are from the Target dollar section, though they were $3 each.
Burlap Storage

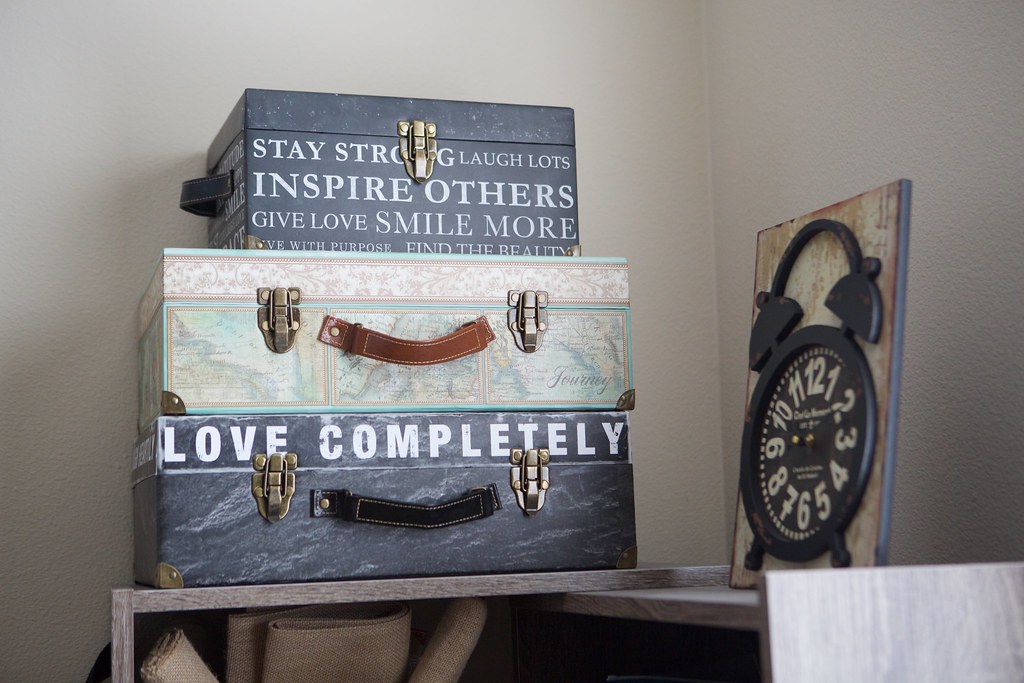
These decorative boxes are actually storage, one has kids crafts, one has my cross-stitch supplies and one is full of more wood for me to paint.
Suit Case Storage
I love that everything has a place now and all of my supplies aren't just shoved away in the garage.

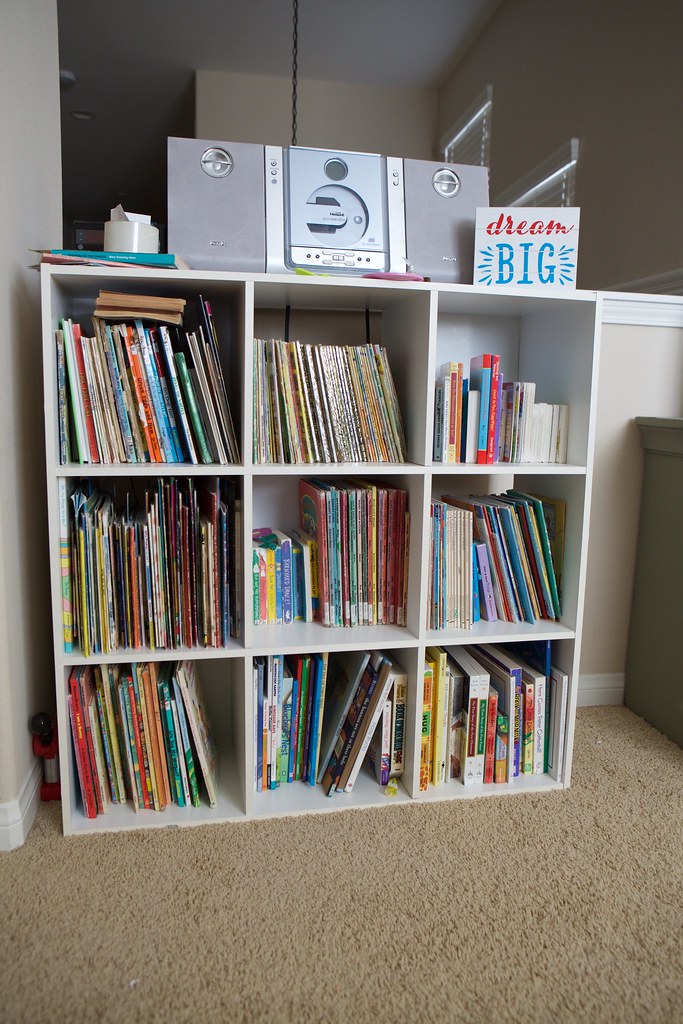
The other half is the kids play room.  We did go through and donated a lot of toys and books as we got rid of three more bookshelves of kids books (yes I have an obsession with kids books).
Play Room in Craft Room
Book Shelves

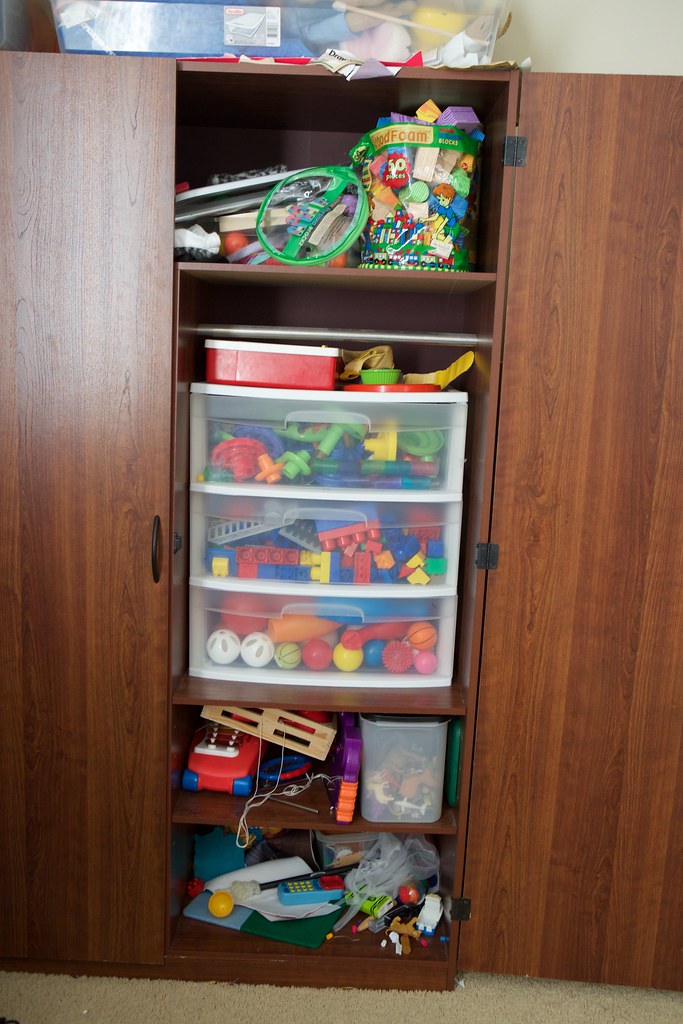
We have had this giant wardrobe for years, it used to be Alex's closet in a former house.  You can use storage bins inside closet spaces like this for nice organized storage.
Toy Storage

Now I have to say if my kids were still toddler age, this set up (with my paints all out) would not work, but at the stage I am it is perfect.

I love that I can be working on a craft while my kids are there playing; as my kids are getting older it seems we are often around the house doing our own things, so I love having this location for all of us.
Craft Room and Play Room Combo
I love my new craft room/ play room combination! It is definitely nice no longer having to go to the garage to get my crafting supplies. I especially love that I was able to create this space on a small budget.  

Wednesday, October 21, 2015

DIY Dresser Makeover

I love finding used furniture and giving it a new face lift.  I am a big fan of painting furniture, but this time I wanted to try something different.
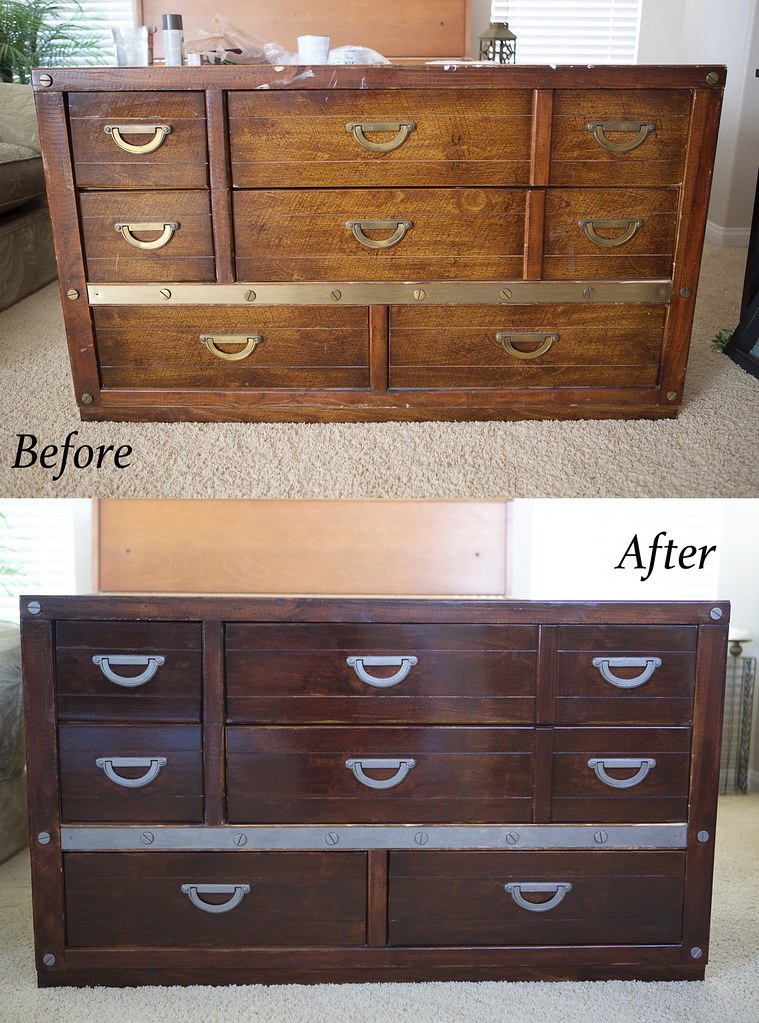
Dresser Before and After


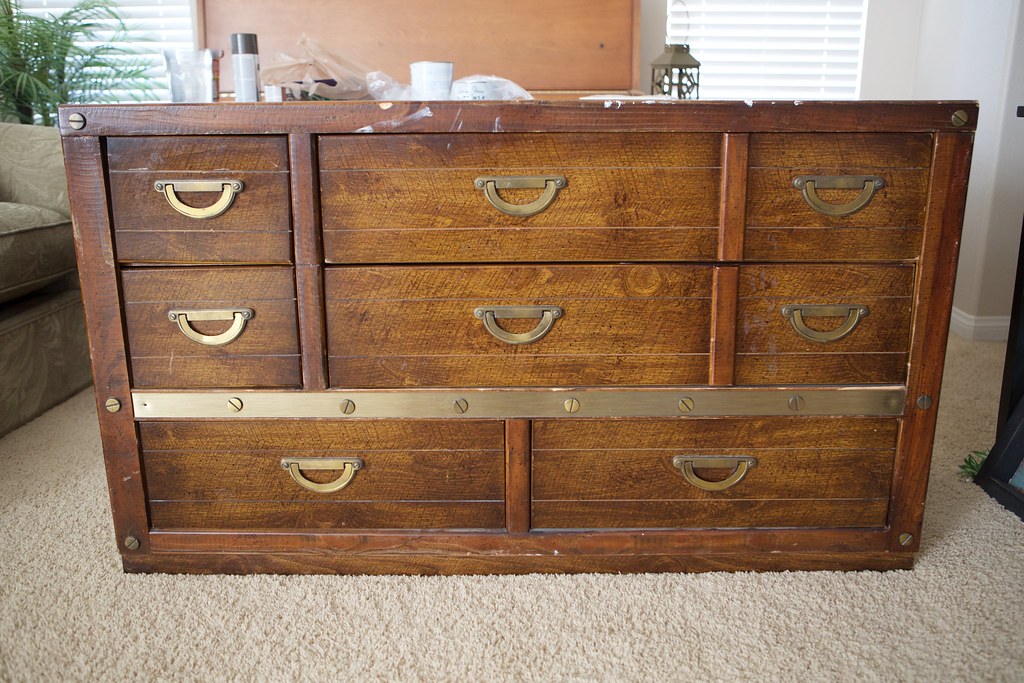
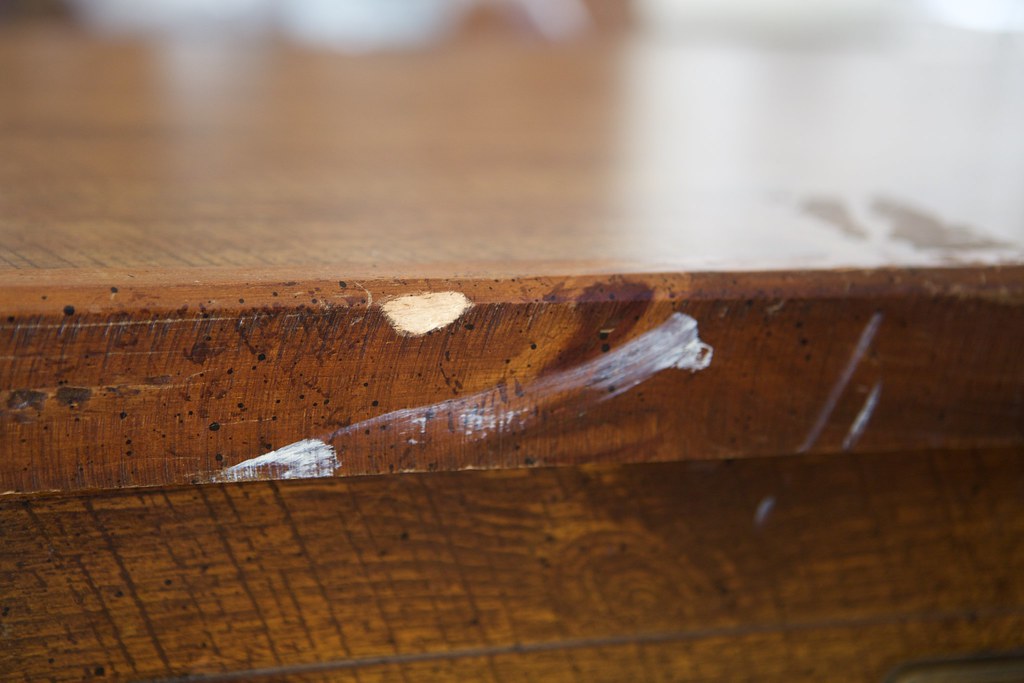
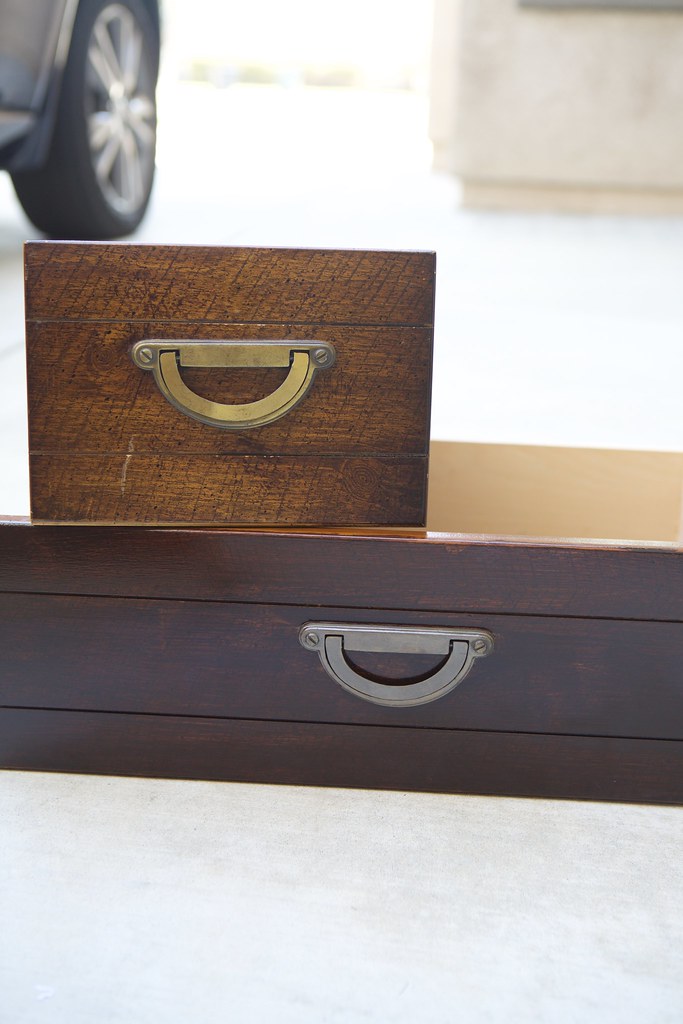
I found this great solid wood dresser for only $30 at a local thrift store.  A couple of the drawers were starting to fall apart and it looked like someone had painted a room and didn't bother to cover the dresser, but otherwise was in pretty good shape.
Thrift Store Dresser

paint marks


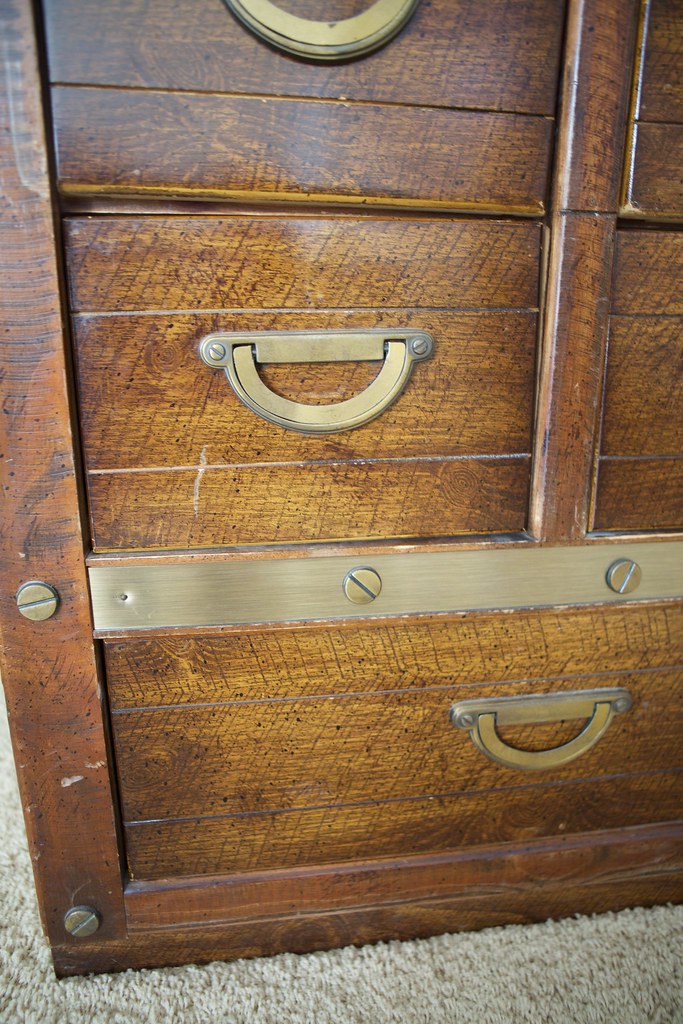
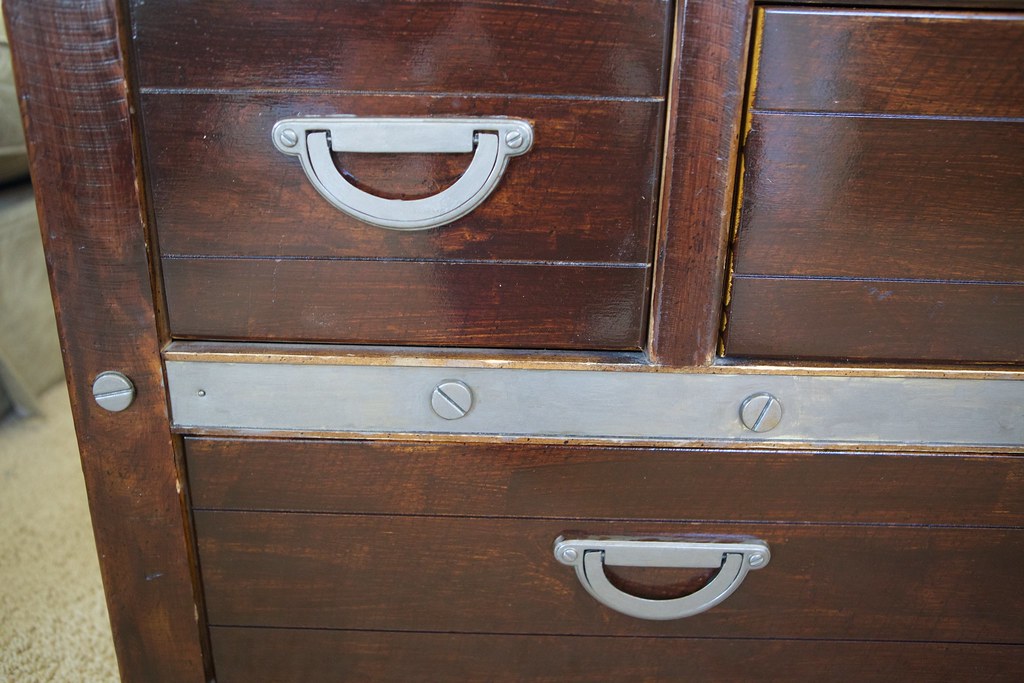
I liked the dresser and especially love the hardware, but I wanted to make it a little more my style.
dresser details


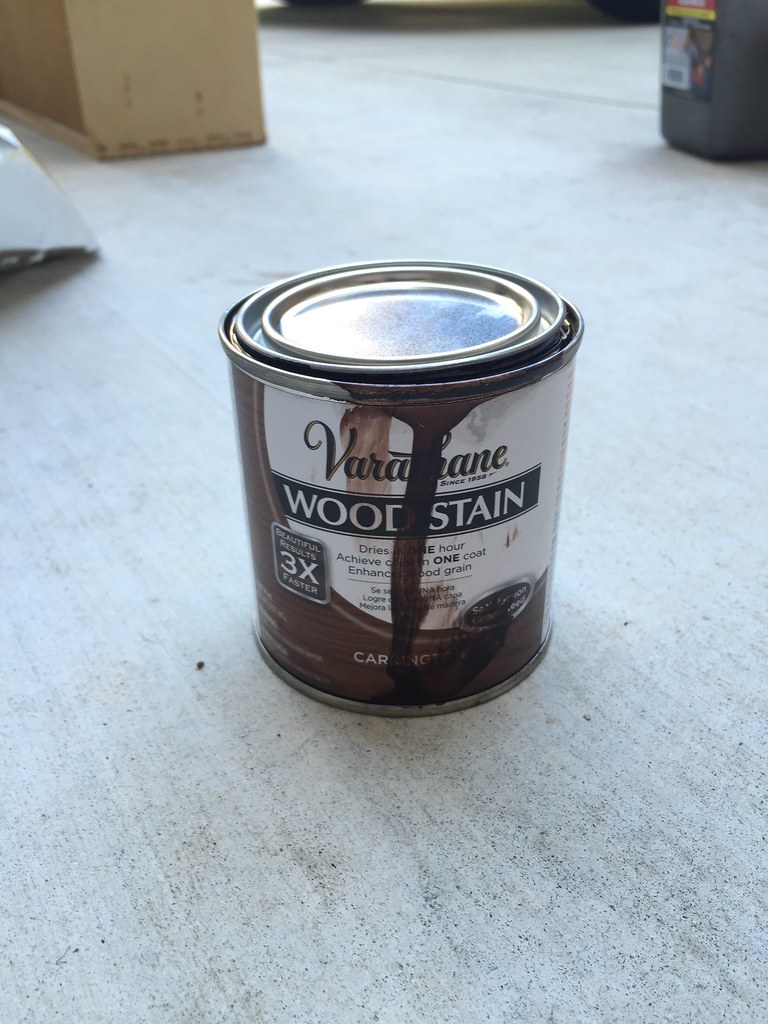
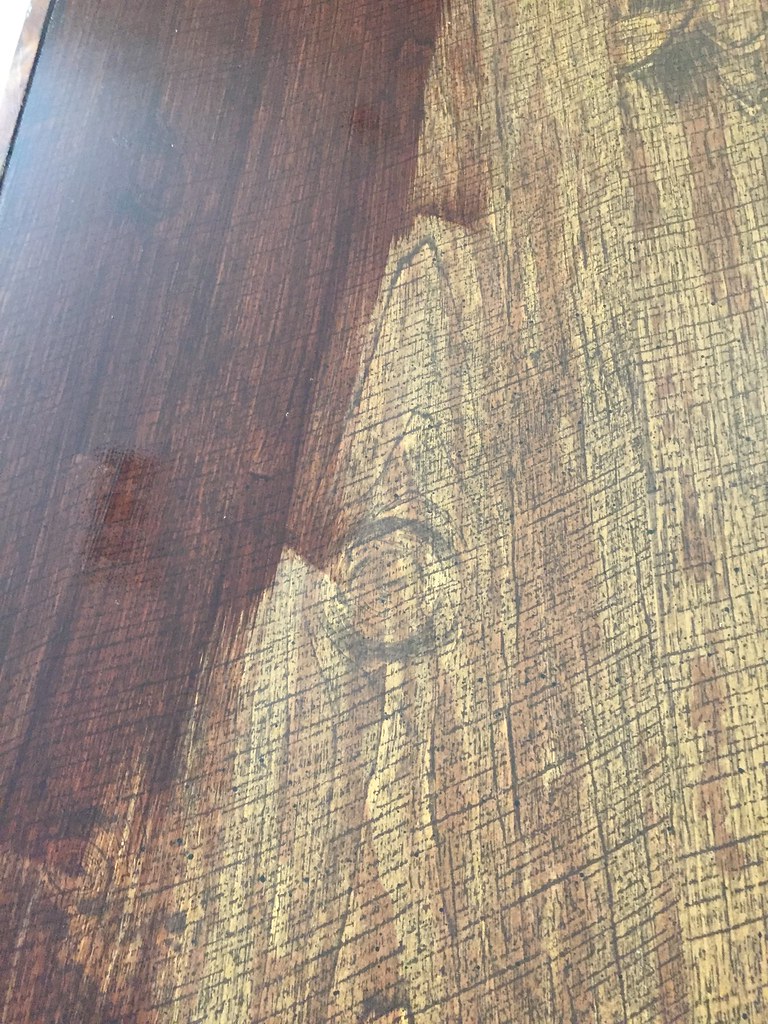
I began by staining the dresser using Varathane Wood Stain, in the Carrington color. I just bought the smallest size and it was more than enough to refinish the entire dresser with a lot leftover. I used a standard size paint brush and just brushed it on.  I have painted many pieces of furniture, but never realized how easy and fast it is to stain wood.
stain
Staining Wood


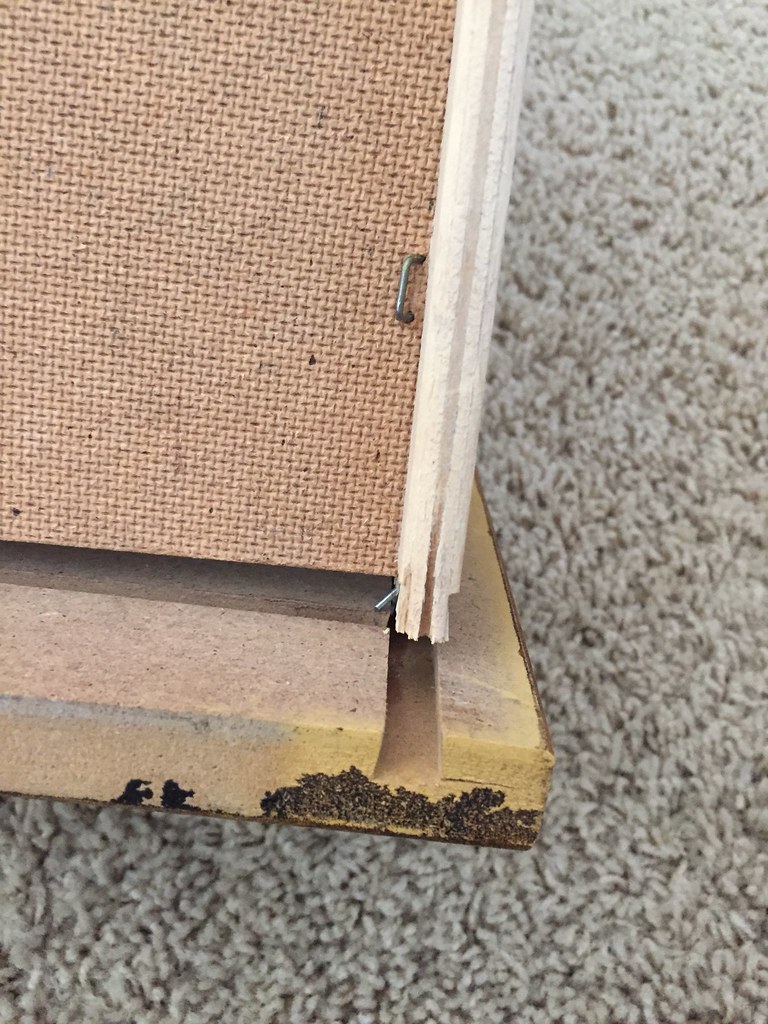
I discovered that the drawers that were falling apart had mostly just slipped out of their tracks.
broken drawer

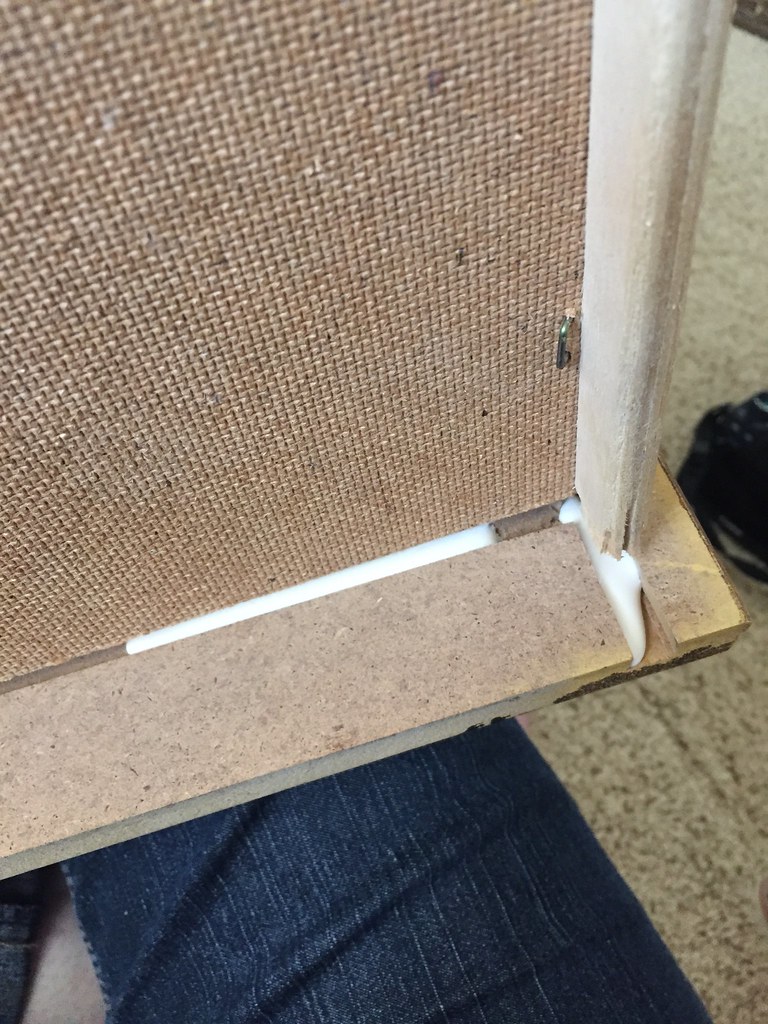
 I had to bend a few of the nails back, and then used wood glue to secure the drawers into shape. I  placed a bunch of books on the the drawer to hold it down while the glue dried.
fixing a drawer
Pour the glue into the tracks to strengthen the drawer 

I knew I wanted to retouch the hardware, but the way the hardware was installed I knew it would be very difficult to remove, so I needed a different plan.

While at Home Depot (by the way this post is not sponsored by Home Depot- but if they ever wanted to sponsor a post, I sure wouldn't complain); the guy in the paint department was extremely helpful and taught me how to "Paint with spray paint"

Painting With Spray Paint
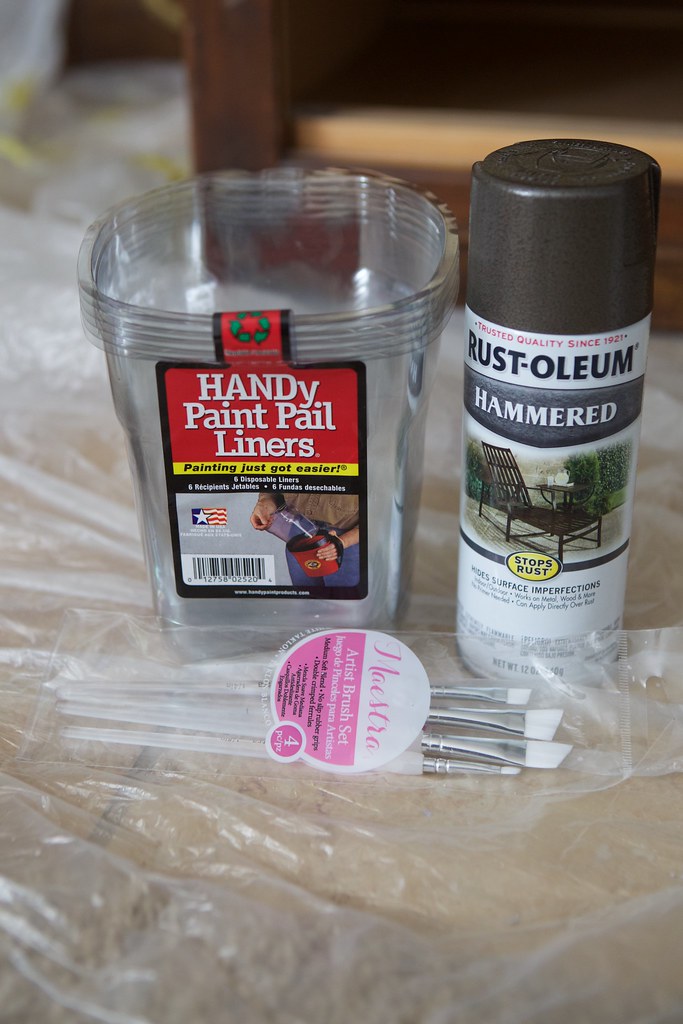
 Supplies: 
  Spray Paint
  Small Paint Brushes (that you most likely will never be able to get clean so will throw away after)
  Container to spray paint in
makeover supplies
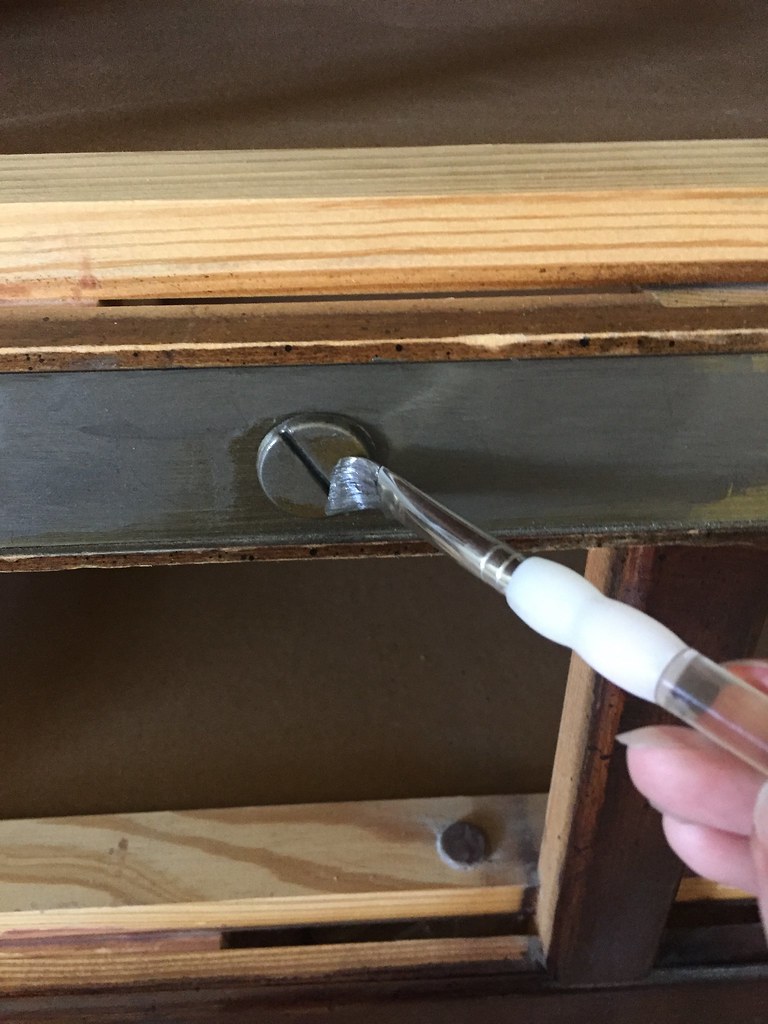
When you are "painting" with spray paint, you need to work quickly and in small sections.  I would spray 3 or 4 squirts into the the container and then dip my brush in the wettest part.   You will have to repeat this process many times as the spray paint dries quickly.  If it is feeling too thick or sticky on your brush, then spray some fresh spray paint in the container and start again.
painting with spray paint
A side by side comparison of a unfinished and finished drawer
dresser drawer comparison


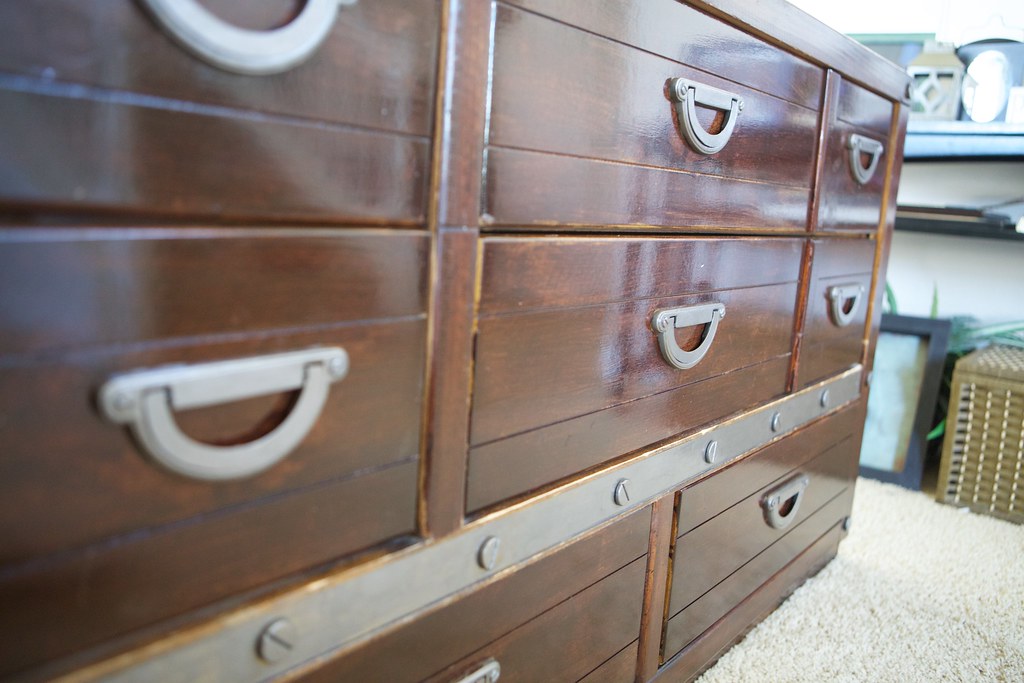
I love new look of all the hardware on the dresser.
dresser details after makeover
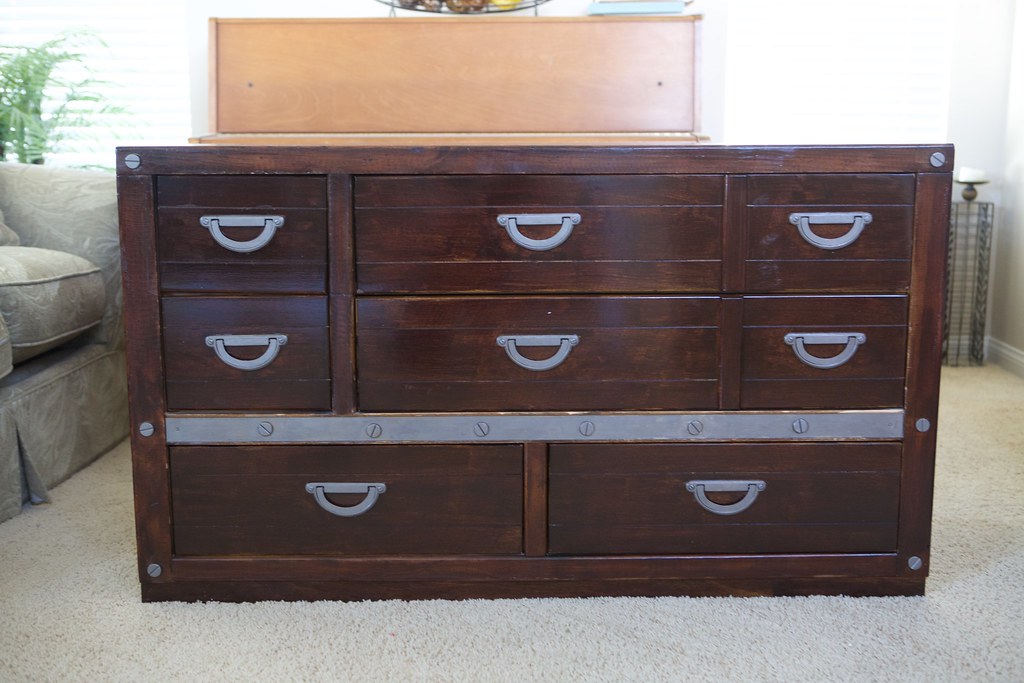
The final dresser
hallway dresser
dresser makeover

This piece is actually in our upstairs hallway and is where we store our extra bedding and beach towels. I love that I was able to make a $30 thrift store find into something that I love. 

ShareThis